Fall Floral Garland DIY
Woooo! This is a “good mood craft,” meaning it’s the kind of craft you can do to boost your mood (glass of wine optional—and if you want my opinion, add it to the supply list!).
I love good mood crafts because sometimes I just want that feeling of MAKING something, but I don’t want to do anything complicated or time consuming. This project you can start and finish in one nap time, which I know because I did it. Haha.
Supplies:
–big fluffy yarn (choose the most fluffy textural yarn you can find)
–faux flowers
-hot glue gun
Depending on the length of your garland you may need more or less than I used. I eyeballed it (aka laid them out on the floor in JOANN’s, haha).
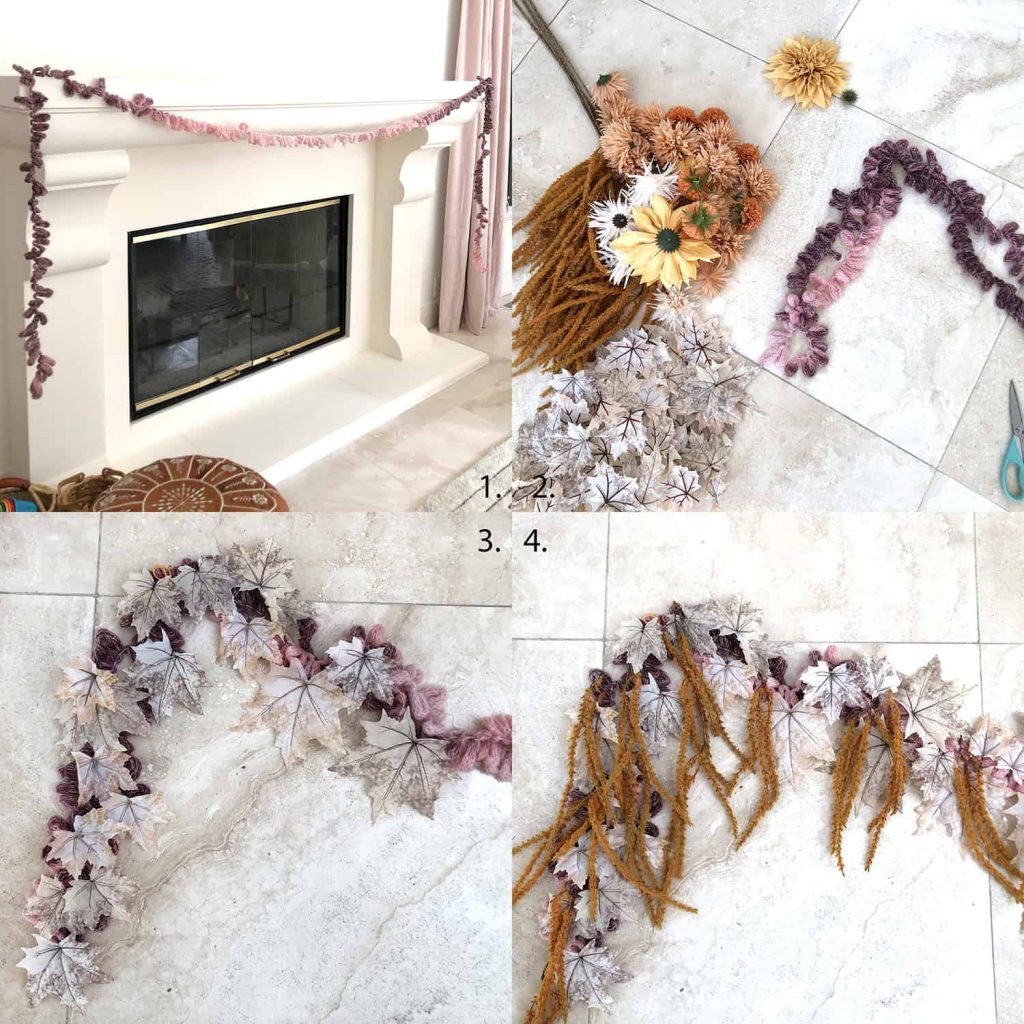
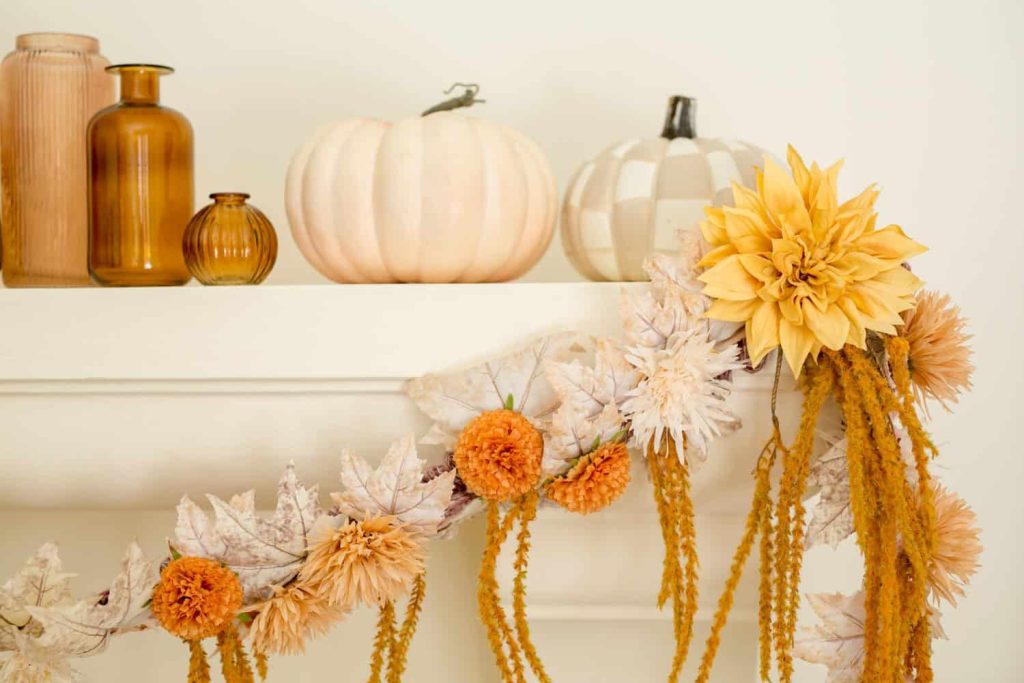
Step: 1. Measure your yarn to be the full size of the garland you plan to make. This will be the base. After I measured it (photo 1), I doubled the yarn to make an even chunkier base. Choose a yarn color that you don’t mind showing through. Even if you intend to cover it completely, the yarn will probably peek out in certain angles, so choose a color that goes with the flowers you are using. I used a combination of leaves, fluffy flowers and flowers that hang down, by the way.
Step 2. Clip off the flowers and leaves from the steps and heat up your glue gun while you do it. (Obvious safety warning—do not use a glue gun around children).
Step 3. Cover the yarn in leaves for a first layer.
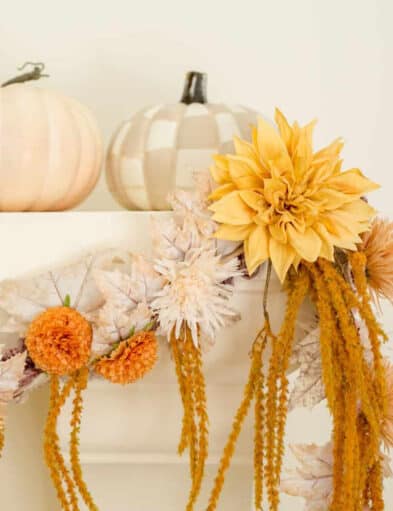
Step 4. Next, add the hanging flowers evenly. Last, add the fluffy flowers on top to fill it out with color.
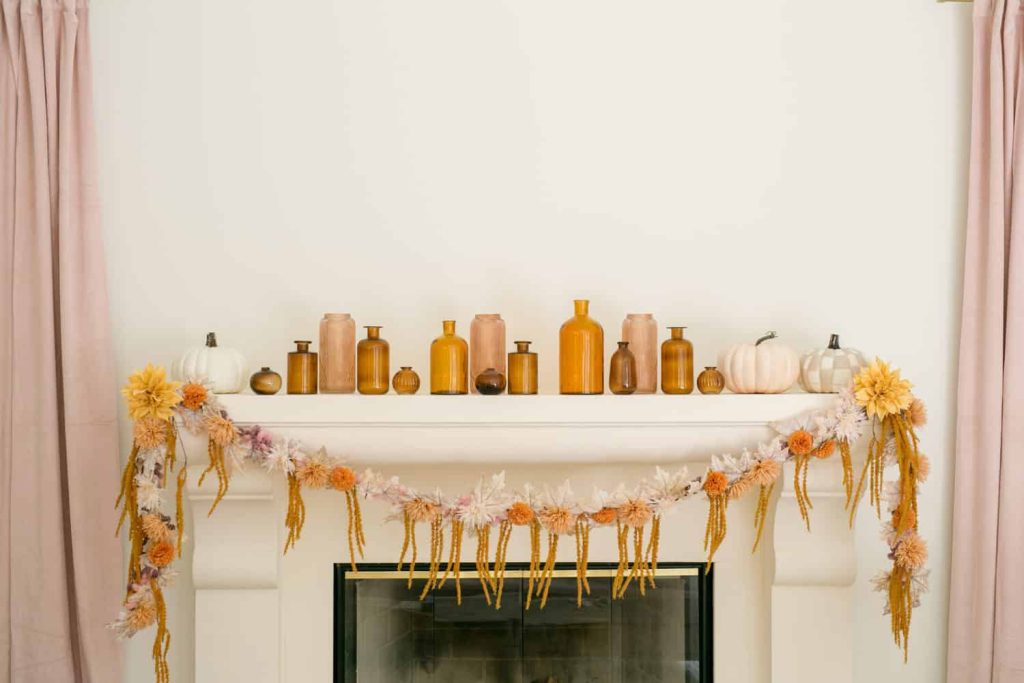
You can modify this project so many ways!!! Choose colors that go with your home and feel free to lean it more autumn or more spooky—whatever you are feeling! Have fun crafting!!