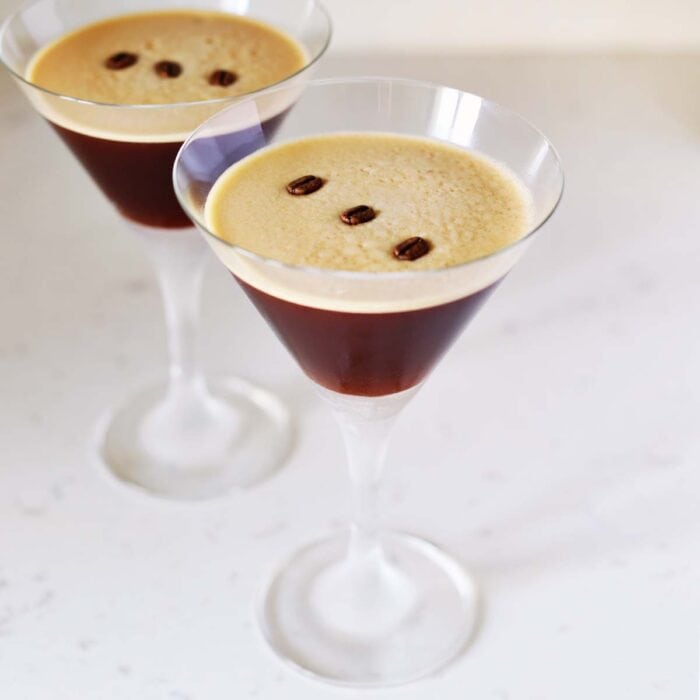
Espresso Martini
This recipe makes a classic Espresso Martini. It’s the perfect after-dinner drink or dessert cocktail. It’s tastes strong, balanced and has a creamy, foamy top. If you love coffee cocktails, you have to try this recipe. This recipe is the perfect marriage of cocktail and coffee. With only three ingredients, this drink is easier to make than it looks.
In this recipe, simple ingredients combine to create something magical. Espresso flavors meld with flavors of strong coffee balanced by sweetness.
Before making your espresso martini, there are a few things you’ll want to keep in mind. First, you will want to use espresso instead of brewing coffee or using instant coffee. It’s important for the flavor profile.
Next, it’s important to let the espresso chill before adding it to the ice and alcohol so that it does not melt the ice.
The foam is an important part of this cocktail, both for flavor and presentation. It’s kind of like when you order a latte, the more foam the better! The foam comes from shaking in a cocktail shaker for 10-15 seconds.
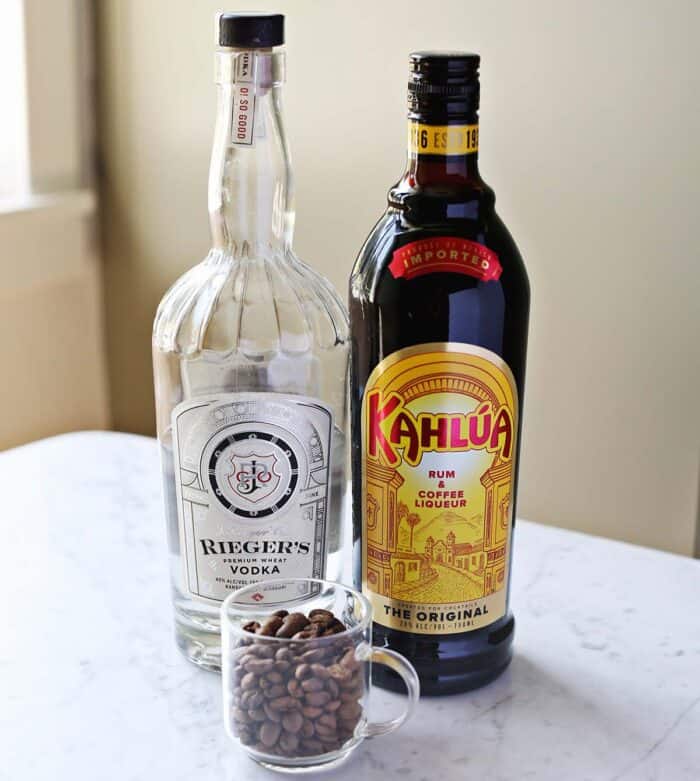
Espresso Martini Ingredients
- Espresso – 1 shot (about 1.5 ounces) espresso
- Vodka – 2 ounces vodka
- Kahlúa – 1/2 ounce coffee liqueur
- Simple Syrup – 1/2 ounce simple syrup (this is optional but I recommend it)
- Coffee Beans – For garnish
This will make one drink. You can easily make two servings in the same shaker by doubling the ingredients. The best cocktail glass to serve an Espresso Martini in is a martini glass or a coupe glass. You will also need a cocktail shaker to make this recipe. If you don’t have a cocktail shaker, a jar can be used.

Espresso Martini Recipe
- Make your espresso and allow to cool (otherwise, it will melt your ice). If you’re in a hurry, you can put it in the refrigerator.
- Fill a cocktail shaker with ice and pour in the espresso, vodka, Kahlua and simple syrup (optional).
- Shake until chilled. This will also create the froth for foam.
- Strain and pour into a chilled glass.
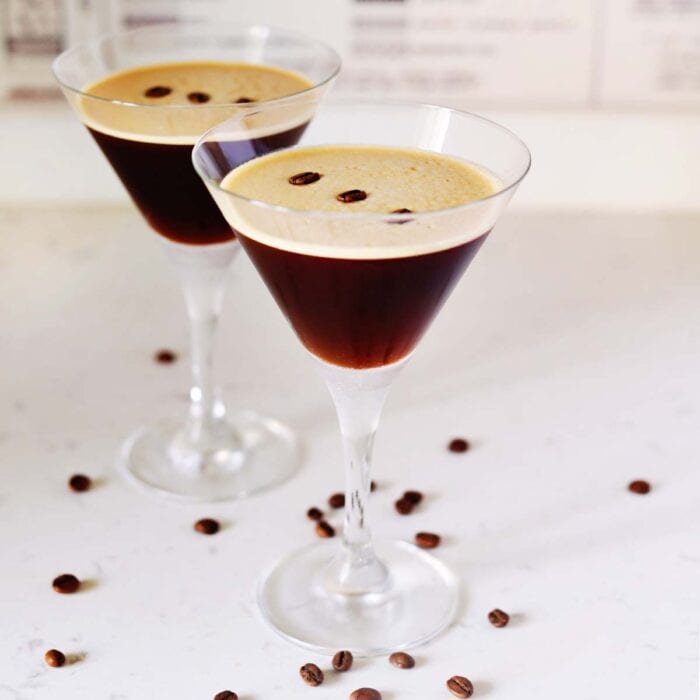
- Garnish with a few coffee beans.
Bonus points if you chill your martini glasses in the freezer ahead of time.
Tips for Making
- Substitutions – If you don’t have a way to make fresh espresso cold brew, concentrate is an acceptable substitution.
- Variations – You may swap unflavored vodka for vanilla vodka, or a seasonal flavor such as caramel, pecan, pumpkin or peppermint. While some would consider this sacrilegious, we would point out that the Espresso Martini isn’t technically a true martini and so if you enjoy seasonal coffee drinks, why not?
- Sweetness – The simple syrup (sugar syrup) is technically optional, but we find it essential to creating balance between strong and bitter flavors.
- Garnish Ideas – In addition to coffee or espresso beans, many bartenders like to dust the top of the martini foam with espresso powder.
History
The Espresso Martini was created in 1983 by bartender Dick Bradsell at Fred’s Club, a bar in London. It continued to gain popularity throughout 1980s and more recently had a second resurgence. The famous tale says that Bradsell was asked by a famous model of the era to make a cocktail that would “wake me up and fuck me up.” And so the Espresso Martini was born. Bradsell is also famous for creating the Bramble cocktail.
Home Espresso Makers
We’ve tried many espresso makers over the years, and here are our favorites at different price points and skill levels:
- Cafe Automatic Espresso Machine – My current machine. It uses any whole beans, so if you use high quality beans you’ll get high quality espresso. It makes espresso shots automatically (no barista skills required) and includes a milk frothing wand to heat and froth milk. We’ve used this machine almost every day since we got it seven months ago and we love it! It comes in three colors.
- Breville Barista Touch – We bought this for a good friend as a wedding gift once and they said they love it. It’s a higher end machine that you will need some barista skills to operate, but it’s an excellent home espresso maker.
- Nespresso Vertuo – For those who want an espresso maker that uses pods, this is my favorite. Depending what pod you use, it can make espresso or coffee.
- MiniPresso – This machine will make you a single shot of espresso by adding boiling water into one end, your grinds into the other, and then you pump a button that pops out.
- French Press – It’s also possible to make espresso in your French press.
Not only is this espresso martini delicious, but it can be a great conversation starter. I know I’m a little bit more talkative when I have a little jolt of caffeine in my system.

