Clay Bead Bracelet Ideas
Let’s talk about clay bead bracelets—sometimes called flat beads, too. If you are looking to get into jewelry making, this is probably one of the easiest and most inexpensive DIY jewelry you can start with.
Plus, there are SO many different ideas for clay bead bracelets! I’m going to share lots in this post, but you can dream up so many more.
Clay beads are usually made of polymer clay and come in any and every color you can think of. Clay bead bracelets are fun to make for many ages, including older kids.
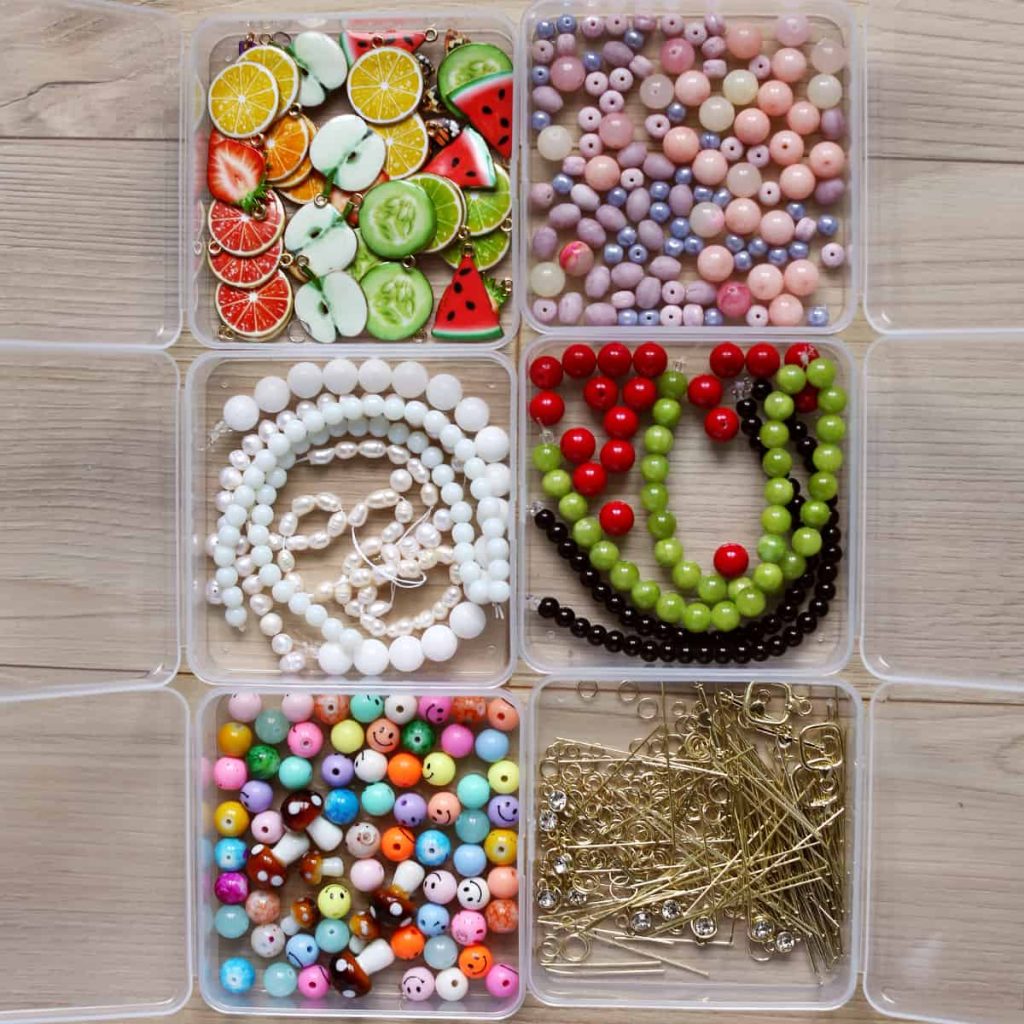
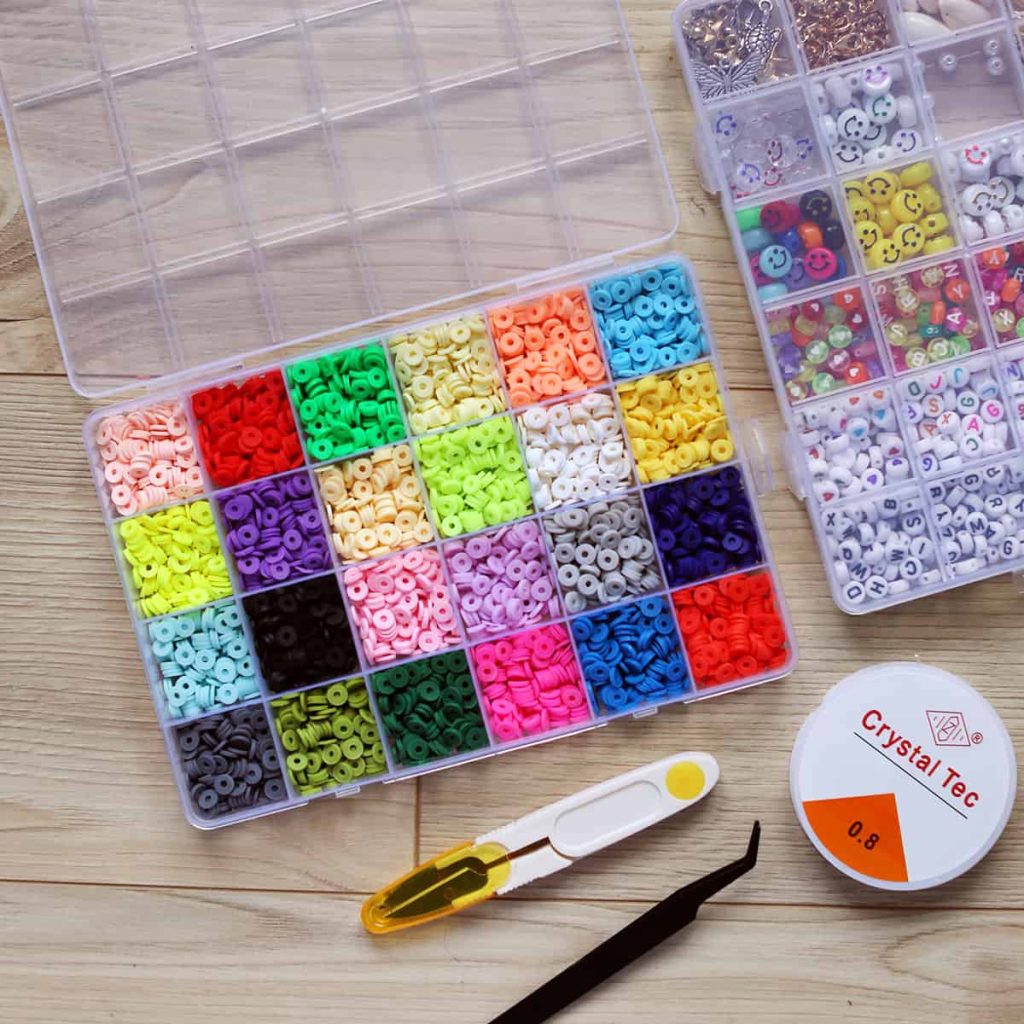
Clay Bead Bracelet Supplies:
- Clay beads
- Elastic cord/Crystal string – I like to use colors but clear works well, too.
- Acrylic letter beads and other accent beads or charms (some kits come with these)
- Crimping beads – for closures
- Connectors – I use these on bracelets with an elastic cord so you can pull it over your hand, so you don’t need to fasten a clasp, which can be difficult one-handed.
- Scissors – the smaller, the better (some jewelry pliers would work for this too)
- Jewelry pliers – for crimping beads and other jewelry making tasks
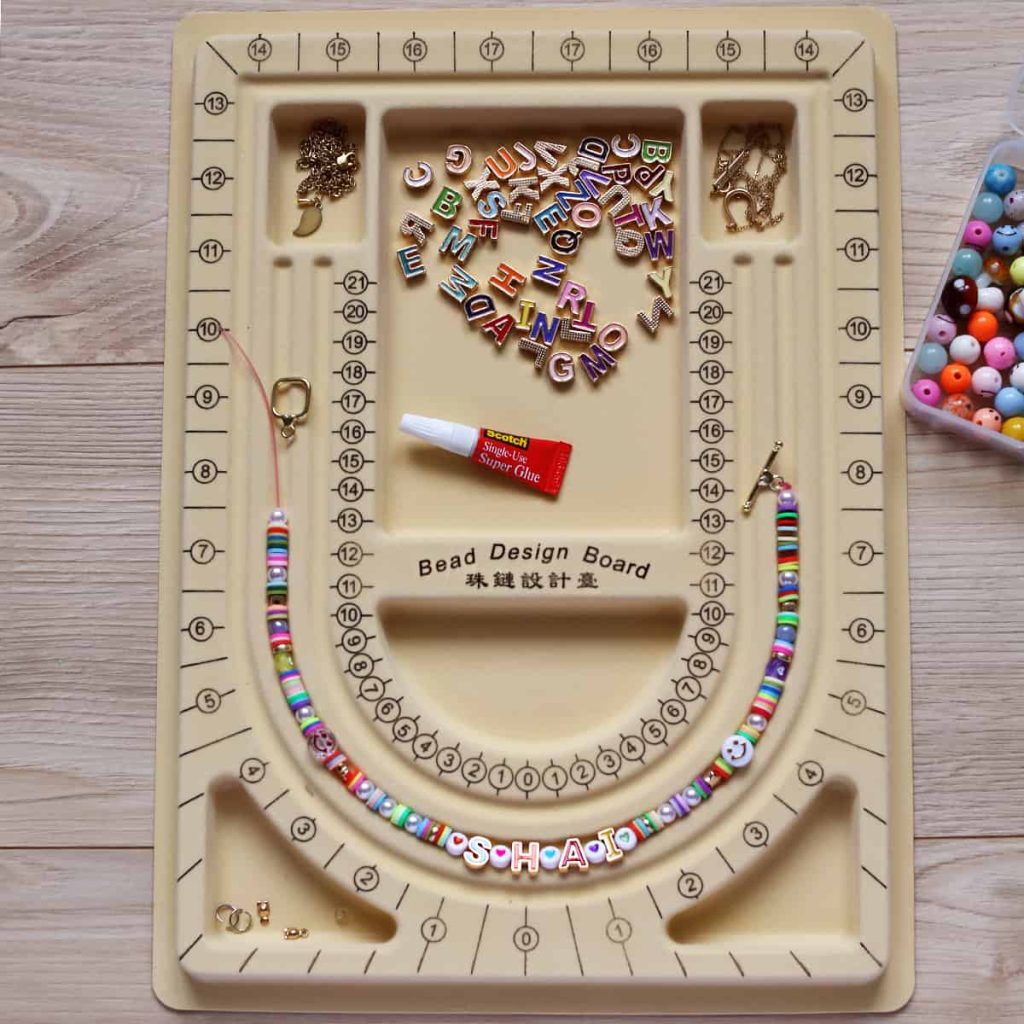
- Bead board – or a felt to cover your work surface
There are many different ways you can design your clay bead bracelet with different accessories or clasp and closures. But these are the basic supplies that I used to make the bracelets you see pictured.
How to Make Bead Bracelets:
- Design your bracelet. I like to lay out the beads on my bead board to make sure I am happy with my design before I start stringing the beads together. This way, I can make sure I like the colors or I can change out the charms or other accent beads I’m using in my design.
- Cut a piece of elastic cord twice as big as the widest part of your hand so you have plenty to work with.
- Loop the bottom of the cord through a crimping bead, then one side of the connector, then back through the same crimping bead again.
- Use your pliers to crimp (smash down) the crimping bead, fastening the cord in place.
- String your design onto the cord.
- Check that the bracelet is the length you design (if not, add or take off beads).
- Add another crimping bead to the end, loop the cord through the other side of the connector, and then through the same crimping bead and pull tight.
- Use your pliers again to crimp down on the bead, fastening the cord in place.
- If you have extra cord on either side, you can snip it off and/or tuck it into the beads beside it.
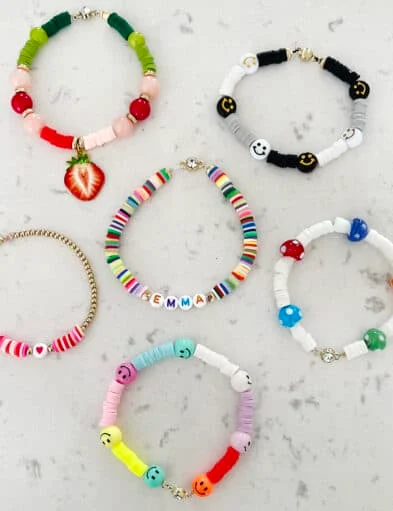
Clay Bead Bracelet Ideas:
Here are some ideas for different kinds of designs and color combinations you can try!
- Multicolored! You can repeat the colors or just add them at random.
- Use all primary colors (red, blue, yellow)
- Use all secondary colors (orange, green, purple)
- Monochromatic – use all one tone or only one color bead for a solid look.
- All white or black
- Break up clusters with charms or a glass bead.
- Add your name or a friend’s name for gifting.
- Add a charm or multiple charms for a charm bracelet look.
- Fill most of the bracelet with small gold beads and use the colored clay beads as an accent.
Where to Buy Beads?
mind that you can buy beads and jewelry making supplies from many different places like thrift stores, estate sales, Etsy and eBay.