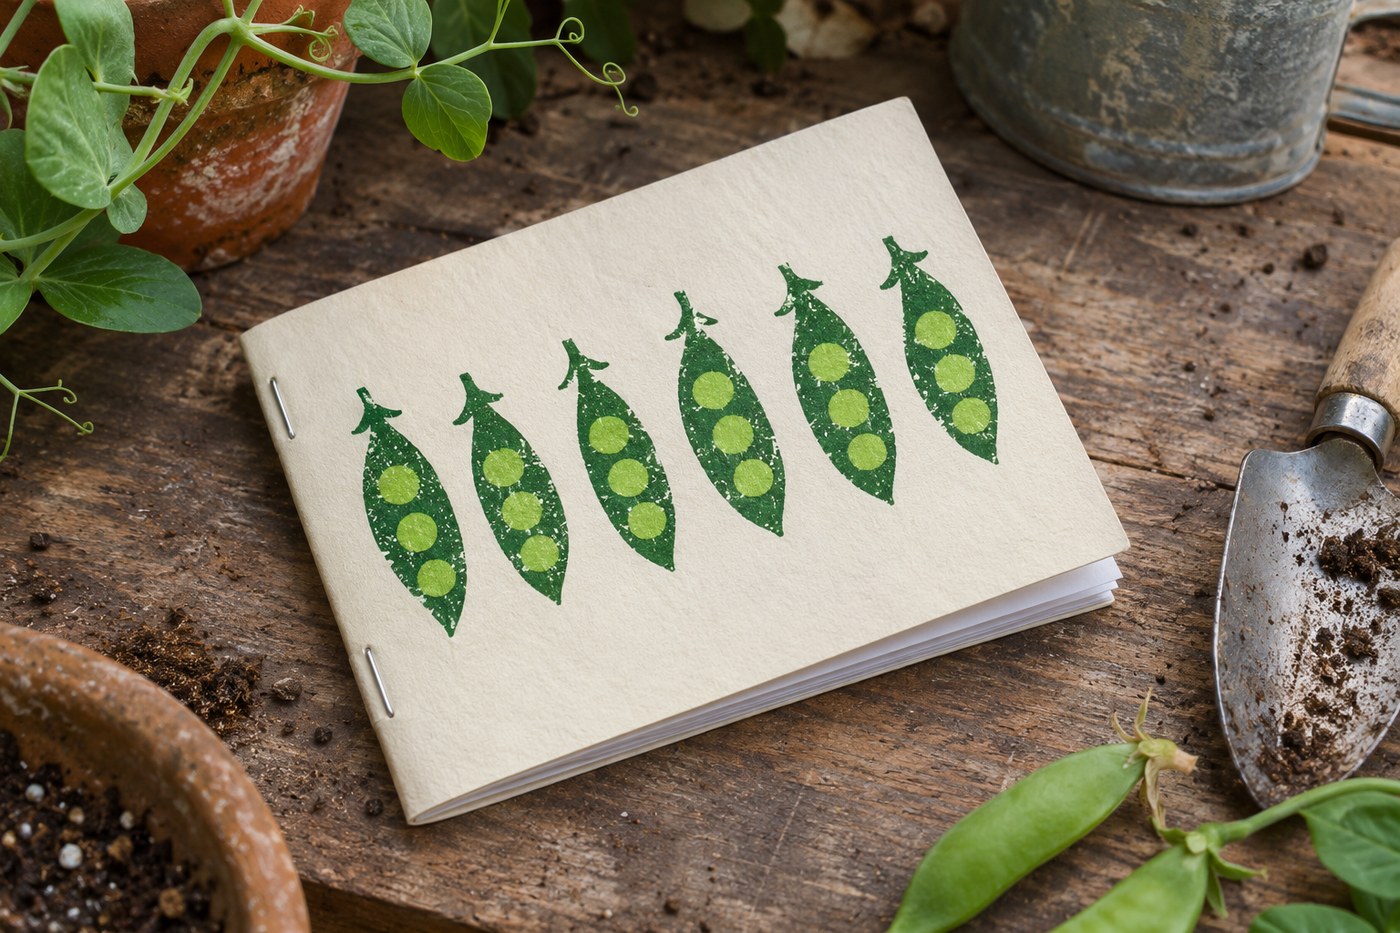
Print a Row of Peas on a Garden Notebook

A two-piece foam stamp turns plain card into a pea-pod notebook cover. Stamp the pods first and add the peas as a second color. The same small stamp set can decorate a stack of notebooks for recording sowing dates, harvests, and ideas for next year.
Materials for one notebook
- One 8.5-by-11-inch sheet of cardstock and five same-size sheets of plain paper
- A 3-inch square of adhesive-backed craft foam and two flat cardboard scraps about 2 inches square
- Two water-based ink pads, one dark green and one light green
- Scissors, pencil, scrap paper, a ruler, and a long-reach stapler with two staples
Cut and print the design
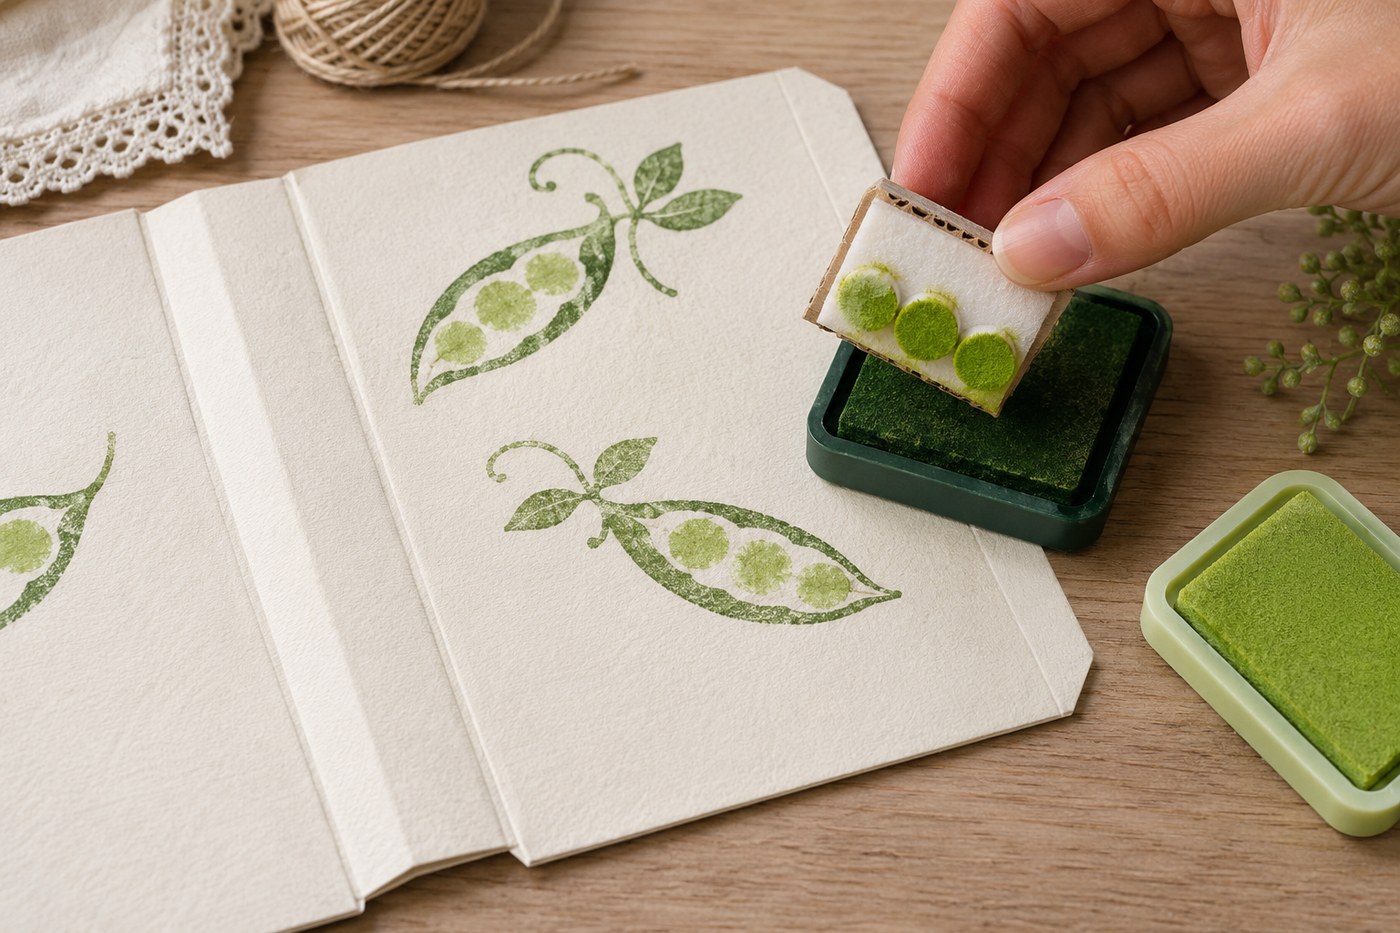
Draw a pointed oval about 1.5 inches long and half an inch wide on the foam. Cut it out, peel the backing, and center it on one cardboard block. Cut three small foam circles, each about a quarter inch across, and mount them in a straight row on the other block. Leave roughly an eighth of an inch between circles so the entire row fits on the oval. Mark the block tops to show where the foam sits underneath.
Fold the cover sheet in half to locate the spine, then open it flat. Stamp dark pods across the outside front half, keeping the impressions at least half an inch from the crease and outer edges. After the pods dry, stamp the lighter circles onto the pods. If the lighter ink is translucent, reverse the colors on a practice impression to see which combination reads clearly.
Bind and correct
Fold the five plain sheets together, nest them inside the dry cover, and reopen the stack with the cover facing up. Staple twice through the crease, about an inch from each end, then close the notebook. Check that both staple legs are flat inside. If the stamps leave broken patches, ink the foam with several light taps and print on a firm, smooth table. If registration is tricky, put a pencil tick on each side of the pea block at the centerline and line those ticks up with the pod tips.