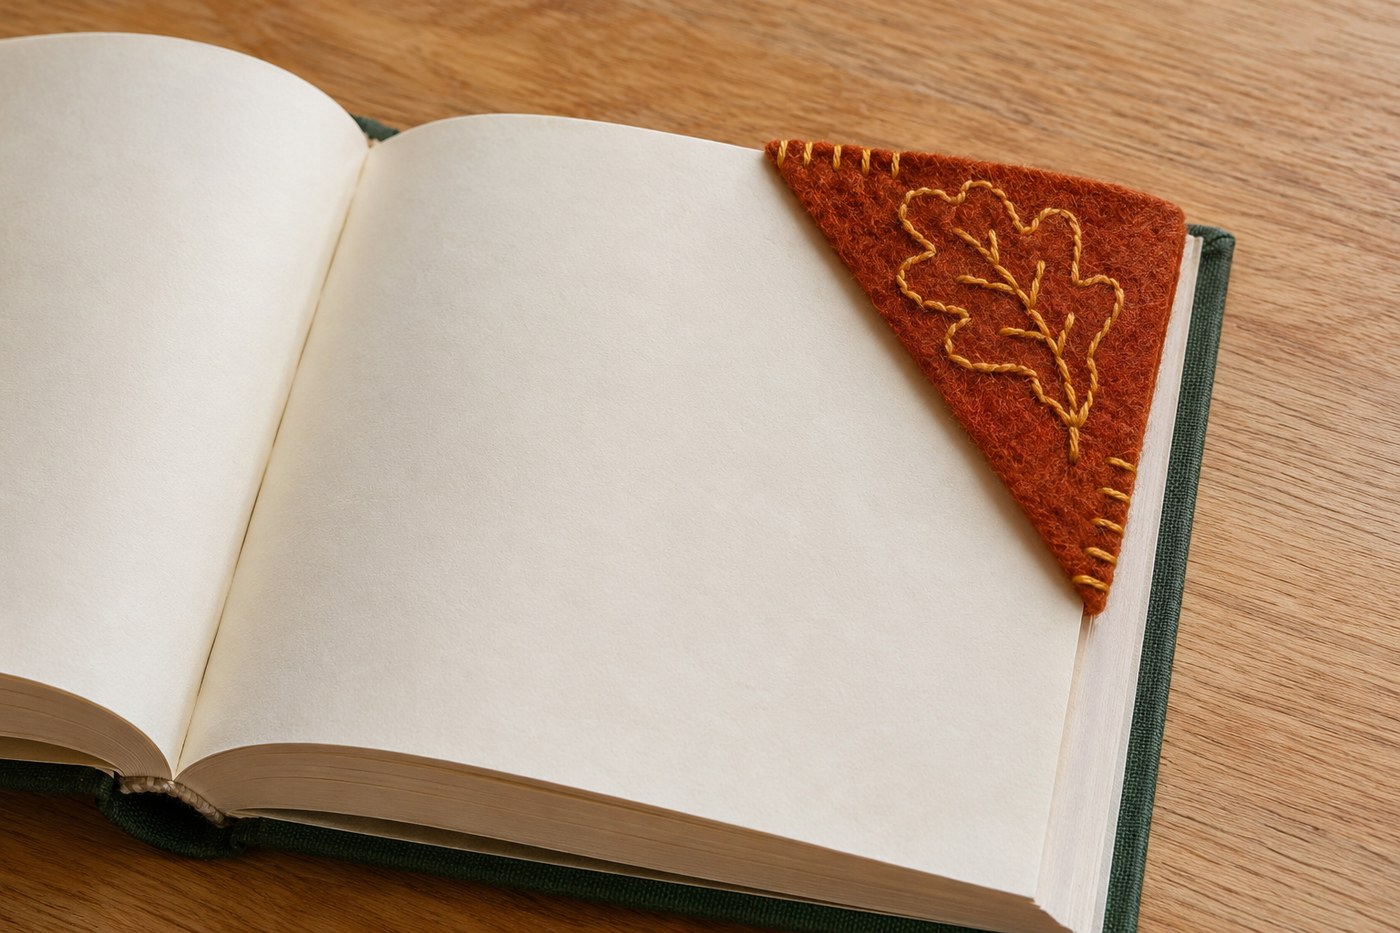
Stitch an Oak Leaf onto a Felt Corner Bookmark

A felt corner bookmark marks the page without leaving a ribbon dangling from the book. A small embroidered oak leaf makes a September version, and the design is simple enough to draw directly on the felt. Use it on a few pages at a time, not over the book cover.
Cut and mark
Gather two 2.5-inch squares of thin craft felt, one in rust and one in a darker shade. Add embroidery floss, a needle, scissors, a ruler, and a chalk pencil. Cut both squares diagonally and select one triangle from each color. Save the other two for a second bookmark. On the rust triangle, sketch a leaf about 1 inch long, leaving at least a quarter inch of space around it for the seams.
Embroider before joining
Thread the needle with two strands of floss. Outline the leaf with backstitch: bring the needle up a short distance ahead of the previous stitch, then take it down at the end of that stitch. Use short stitches around each lobe so the curves stay rounded. Run a line of stitches down the middle for a vein and add two small branches on each side. Secure the ends on the back with small stitches through the existing threads.
Leave one edge open
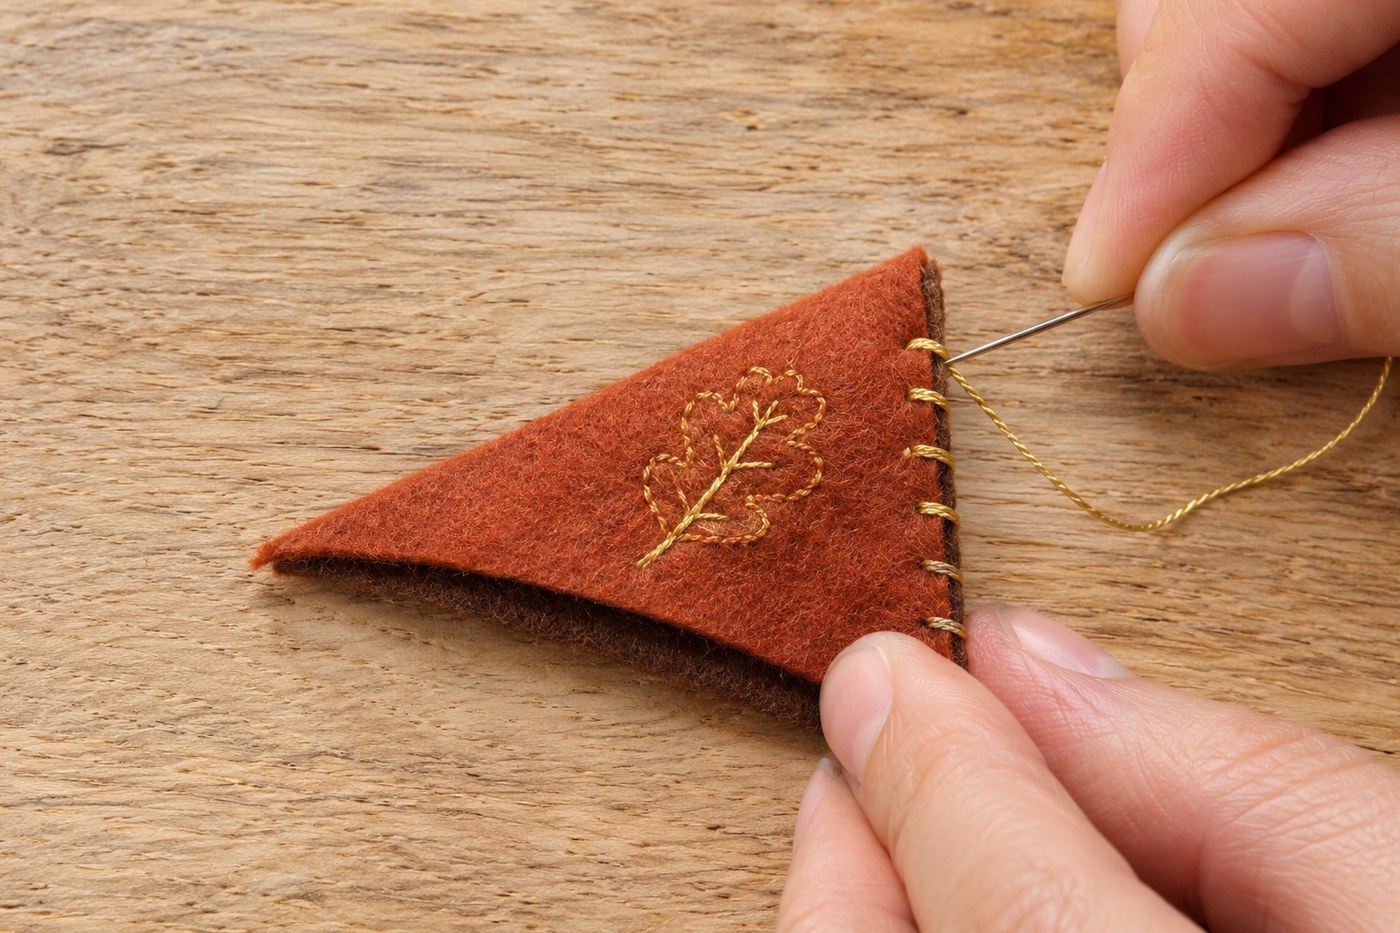
Stack the triangles with the embroidery facing out. Use two or three strands of floss to whipstitch the two short edges, starting at one end of the diagonal and working around the right angle to the other end. Pass the needle through both layers at evenly spaced points about an eighth of an inch from the edge. Leave the long diagonal completely open so a page corner can slip inside.
If the pocket gapes, shorten the distance between stitches, especially near the ends of the diagonal. If the bookmark makes a book bulge, use thinner felt and flatter embroidery rather than pulling the stitches tight. Brush away the chalk before placing the bookmark on paper, and avoid using damp felt against a page.