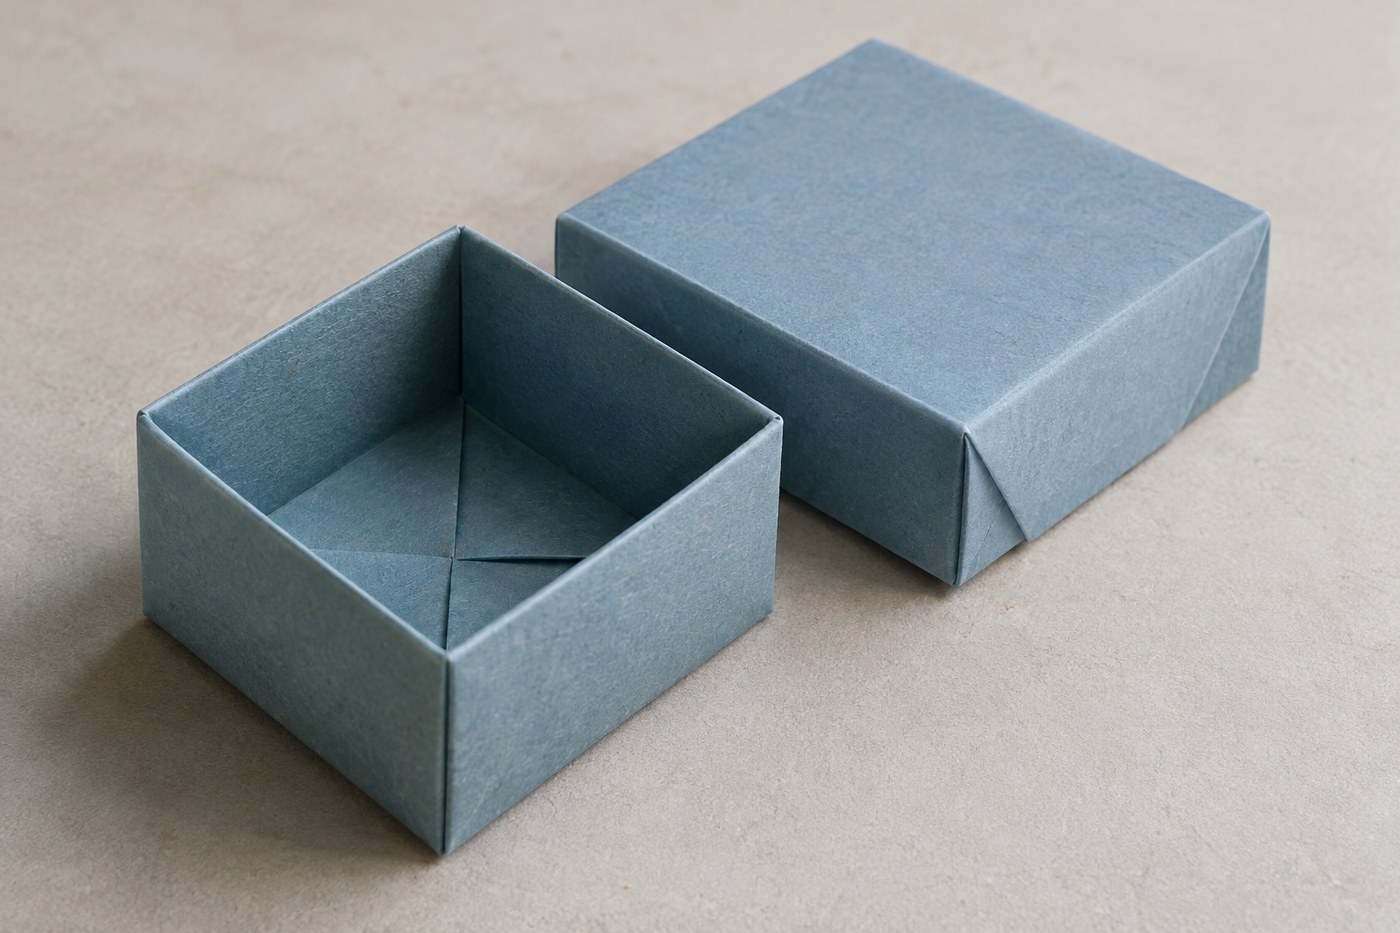
Fold a Reusable Gift Box from Two Cardstock Squares

A folded paper box is handy for small November gifts such as a spool of ribbon or a pair of earrings tucked into a pouch. The base and lid use the same folds, but the lid begins with a slightly larger square. No tape is needed if the locking flaps are folded firmly.
Cut two accurate squares
Use lightweight cardstock or firm decorative paper, about 120 to 160 gsm. Cut a 10-inch square for the base and a 10.25-inch square for the lid. Have a ruler, pencil, scissors, and a blunt creasing tool handy. The finished base is about 3.5 inches square and 1.75 inches deep. Choose lightweight contents that do not push against the walls.
Form the tray
- Place the base square with its decorative face down. Fold opposite corners together both ways and unfold. Bring all four corners to the center and crease to form a smaller square.
- Fold opposite edges of that smaller square to its center line, crease, and unfold those two edge folds. Rotate the work a quarter turn and repeat. Open two opposite corner flaps all the way out. Leave the other two corners pointing to the center.
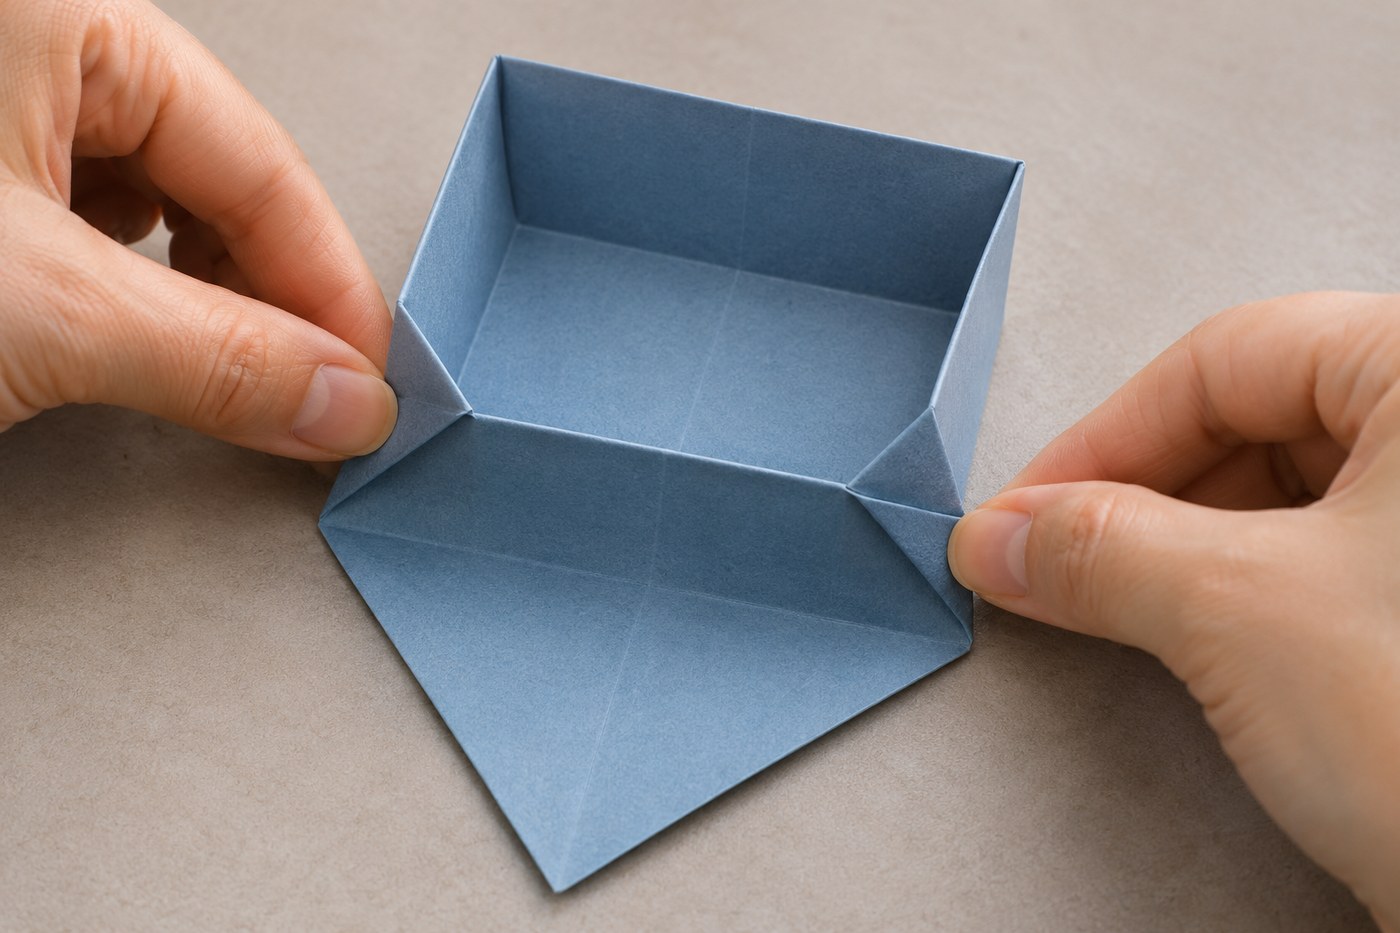
- Raise the two sides whose corners are still folded in, using the wall creases you just made. At one open end, push the two diagonal corner creases inward so the end wall can rise between the side walls. Fold the extended point down over the tucked triangles until its tip reaches the center of the box floor. Repeat at the opposite end.
- Make the lid the same way from the larger square. Set it over the base rather than pushing it down by one corner.
Correct the fit
If the lid sticks on all four sides, remake it from a square an eighth of an inch larger, especially when using thicker paper. If one corner springs open, reopen that end and sharpen the diagonal tucks before locking the point down again.