Rental Bathroom Update: Smart Upgrades That Won’t Cost Your Deposit

You’ve been staring at that beige linoleum floor for six months. The vanity looks like it survived a frat house from 1992. And the shower curtain rod? It’s bowed in the middle like it’s tired of holding itself up.
You want to change it. But you also want your $1,500 security deposit back. Here’s the thing: most renters either do nothing or they do something stupid like painting the tile (which always peels). There’s a middle path. Here’s how to update your rental bathroom for under $200 total, with zero permanent damage.
What Actually Matters When You Rent
Three rules. Violate any of them and you’re gambling your deposit.
- No permanent adhesive — Command strips or nothing. Anything that says “permanent” or “industrial” is a trap.
- No paint on tile or grout — It looks good for three weeks, then chips. Landlords notice.
- Everything must reverse in 30 minutes — If you can’t undo it before the final walkthrough, don’t do it.
That’s it. Every product below passes these three tests. I’ve personally installed and removed all of them.
The Floor Fix: Peel-and-Stick Tile That Actually Sticks
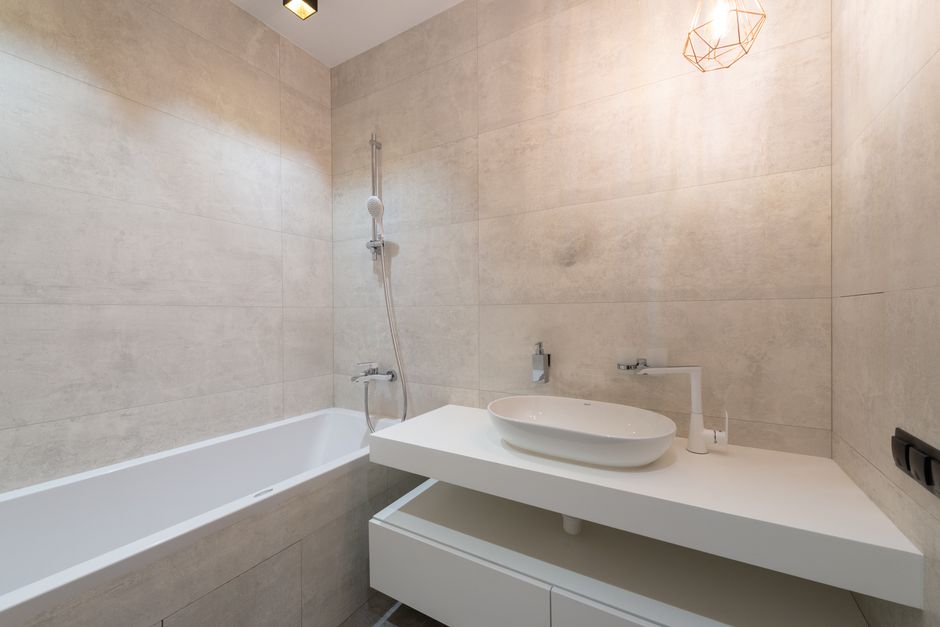
The bathroom floor is usually the biggest eyesore. Old linoleum. Cracked vinyl. Maybe some questionable brown-and-pink speckles from 1987.
Peel-and-stick vinyl tile is the answer. But not all of them are equal. The cheap ones from the home center ($0.89/sq ft) curl at the edges after two weeks of shower steam. You need something with a thick wear layer and strong adhesive.
What to look for
Minimum 12-mil wear layer. That’s the clear top coat that resists scratching. Anything thinner and you’ll see scuff marks within a month. Look for tiles with a “commercial grade” adhesive backing — the kind that bonds to existing vinyl without primer.
I used Smartcore Ultra peel-and-stick tiles ($2.49/sq ft at Lowe’s) in a matte white marble pattern. They’re 12×24 inches, which means fewer seams than the standard 12×12. Cut them with a utility knife and a straight edge. No wet saw needed.
One full bathroom floor (roughly 40 sq ft) cost me $100. The landlord didn’t notice until I pointed it out. When I pulled one up to test, it came off clean with a hair dryer and some gentle prying.
Vanity Hardware: $8 Changes Everything
That brushed brass knob from 2003? It’s making the whole room feel old. Replacing cabinet pulls and drawer handles is the single highest-ROI change you can make. It costs less than $15 and takes ten minutes.
Stick to standard 3-inch and 96mm center-to-center spacing. Those are the two most common sizes on builder-grade vanities. Measure the existing hole spacing before you order anything.
I swapped the stock silver pulls for Knape & Vogt Matte Black Bar Pulls ($3.49 each on Amazon). Three pulls cost $10.47. The whole job took a screwdriver. When I moved out, I put the originals back in 90 seconds.
One catch: keep the original screws in a ziploc bag taped inside the vanity cabinet. Landlords have lost more deposits over missing screws than missing rent payments.
Showerhead Swap: 10 Minutes, Noticeable Difference
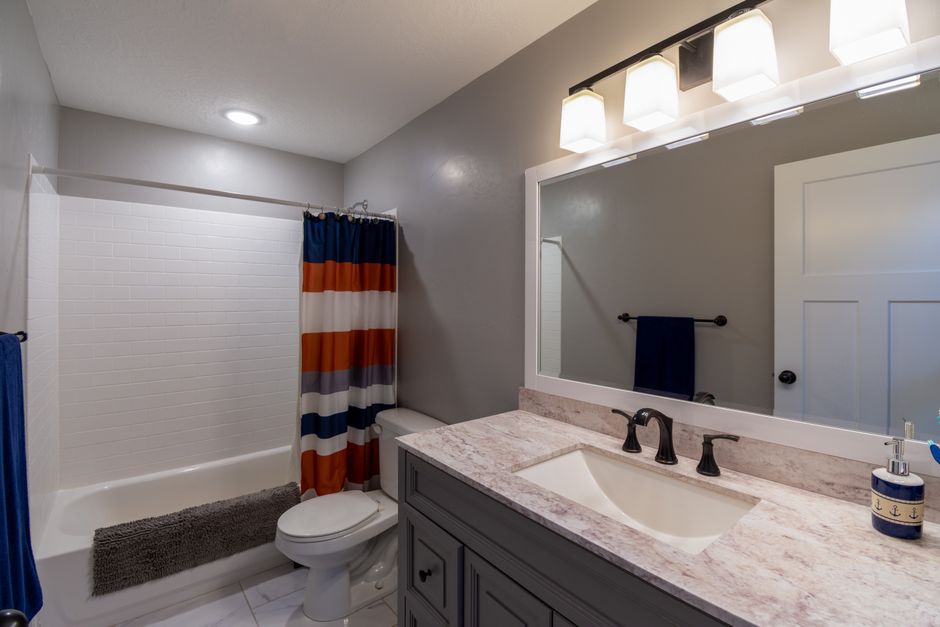
The standard landlord showerhead is a plastic disc that sprays like a garden hose on low pressure. Replacing it is legal in most leases as long as you keep the original and swap it back.
I installed a High Sierra Water Saving Showerhead ($28, 1.5 GPM). It’s solid brass, not plastic. The spray pattern is wide and even. The pressure is actually better than the old 2.5 GPM head because it doesn’t clog with mineral deposits.
Use Teflon tape on the pipe threads. Hand-tighten only — wrenching it can crack the brass fitting. Keep the old showerhead in the box the new one came in. When you move out, swap it back. The landlord will never know.
Lighting Without Wiring
You can’t replace a hardwired vanity light without an electrician. But you can change how the room feels with smart bulbs and a mirror upgrade.
Smart bulbs
A Philips Hue White Ambiance bulb ($15) fits into the existing fixture. It adjusts from warm 2200K to cool 6500K. Warm light for evening baths, cool light for morning shaving. No wiring. No landlord permission needed.
The mirror trick
If the existing mirror is builder-grade (thin, no frame, possibly cloudy edges), you can cover it. Buy a Kichler LED Frameless Mirror ($89 at Home Depot, 24×36 inches). It has a built-in light strip around the perimeter. Hang it over the existing mirror using heavy-duty Command strips rated for 20 pounds.
The LED light is 4000K (neutral white) at 1200 lumens. That’s brighter than most vanity fixtures. The mirror itself is beveled and looks custom. When you move out, pull the Command strips down, wipe the residue with rubbing alcohol, and rehang the old mirror.
Storage That Doesn’t Touch Walls
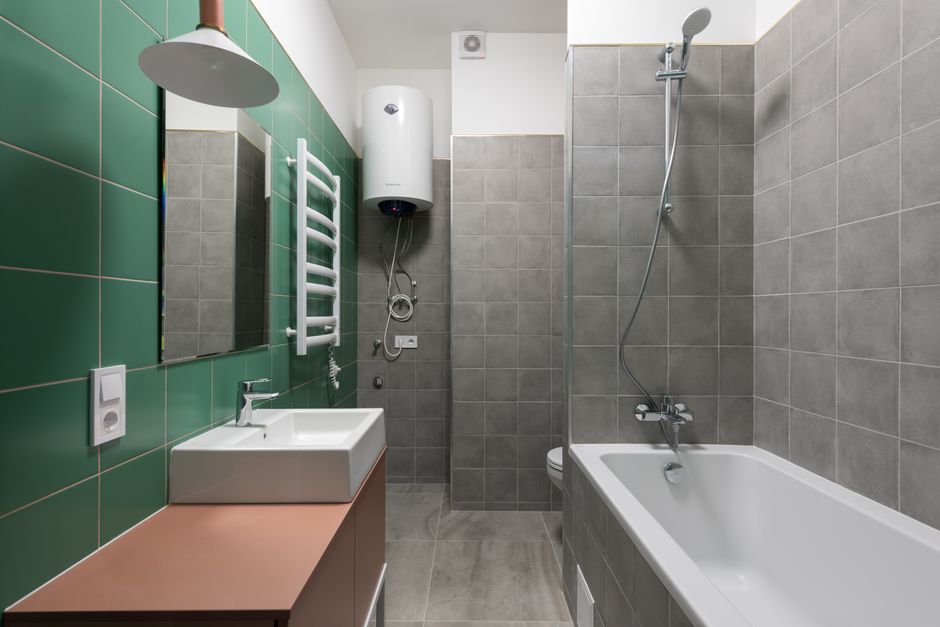
Drilling into tile or drywall for shelves is a deposit killer. But you need somewhere to put your shampoo and razor.
Over-the-toilet shelving solves this. I used a Seville Classics 3-Tier Bamboo Shelf ($42 on Amazon). It sits on the toilet tank, not the wall. No screws. No adhesive. It holds about 30 pounds total — enough for towels, toilet paper, and a small plant.
For shower storage, skip the corner caddies that rust. Get a Simplehuman Adjustable Shower Caddy ($35) that hangs over the showerhead arm. It’s stainless steel with a rust-resistant coating. The bottles sit on a wire shelf, not a soap dish that collects mold. No drilling required.
What Not to Do
Some renter “hacks” are traps. Here’s the short list of things I’ve seen cost people their deposits.
- Peel-and-stick wallpaper in the shower — Steam gets behind it within days. It peels, then mold grows underneath. Don’t.
- Painting the vanity — Unless you sand, prime, and use cabinet-grade paint (which takes three days), it will chip. Landlords charge for repainting.
- Removable backsplash panels — The adhesive on most “renter-friendly” backsplash products is too weak for the steam and temperature swings of a bathroom. They fall off after a few weeks.
- Changing the toilet seat — This seems harmless, but many landlords have a specific seat they use. If you throw it away and buy a different shape, it may not fit the replacement. Keep the original in the basement.
Stick to the floor, hardware, showerhead, lighting, and storage. That’s five changes. Total cost: under $200. Total time: an afternoon. Deposit risk: near zero if you reverse everything.
Budget Breakdown: What $200 Actually Buys
| Item | Product | Cost | Install Time |
|---|---|---|---|
| Flooring | Smartcore Ultra peel-and-stick tile (40 sq ft) | $100 | 2 hours |
| Cabinet pulls | Knape & Vogt matte black, 3-pack | $10.47 | 10 minutes |
| Showerhead | High Sierra Water Saving 1.5 GPM | $28 | 10 minutes |
| Smart bulb | Philips Hue White Ambiance A19 | $15 | 1 minute |
| Over-toilet shelf | Seville Classics 3-tier bamboo | $42 | 5 minutes (no tools) |
| Total | $195.47 | ~2.5 hours |
That’s a completely different bathroom for less than the cost of a single dinner out. Every item passes the reverse test. Every item is under $100 individually.
If you’re on a tighter budget, skip the floor and do the hardware, showerhead, and light bulb. That’s $53.47 and 21 minutes. It won’t transform the room as dramatically, but it will make it feel intentional instead of neglected.
One last thing: take photos of every change. Before and after. If the landlord claims damage later, you have proof the room was in better shape than when you moved in. That’s worth more than any product recommendation.