Make Your Own Daisy DIY Earrings
Making your own earrings is a fun way to create some wearable art that you can totally customize to whatever suits your taste!
I love the daisy trend that is in right now, and I figured this summer was a great time to create my own daisy DIY earrings.
If you haven’t used resin epoxy before, you’ll be shocked at how easy the process is—and you’ll be making daisy earrings for yourself and your friends in no time.
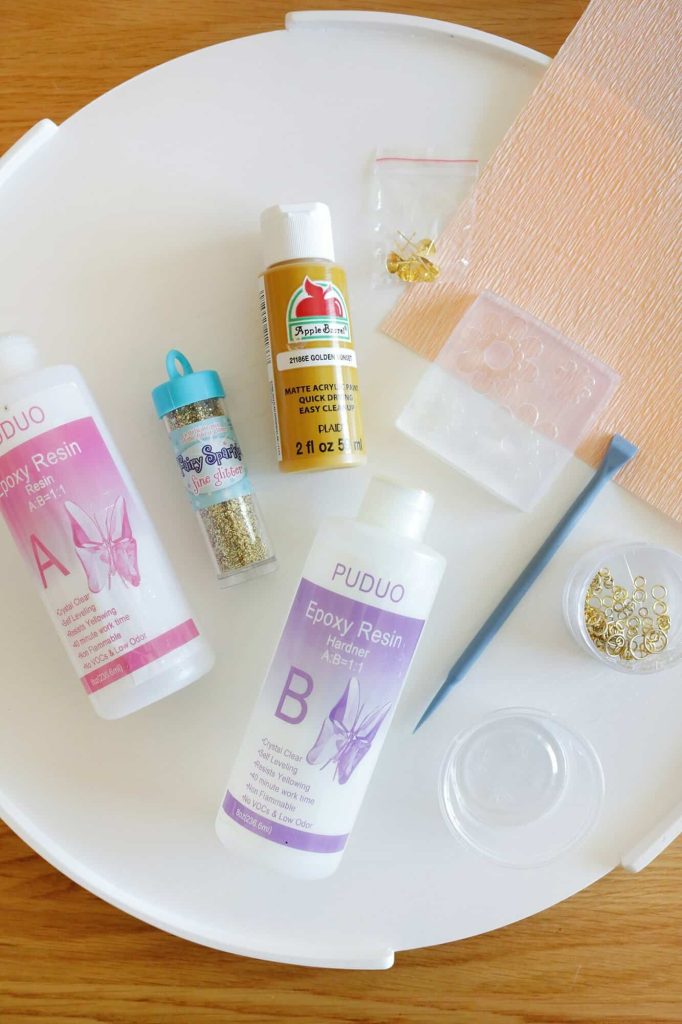
Supplies:
- Epoxy resin kit with plastic gloves (most kits come with them)
- Daisy earring mold
- Small cup to mix ingredients (small disposable drinking cup is great)
- Wooden or plastic stick to mix epoxy
- Acrylic paint in the color of your choice
- Small glitter
- Jump rings (I used 6mm size) and small needle nose pliers
- Earring stud post and backs
- Super glue (I love this kind since it’s easy to control)
- Paper towel to catch drips
- Disposable eye dropper or pipette (optional)
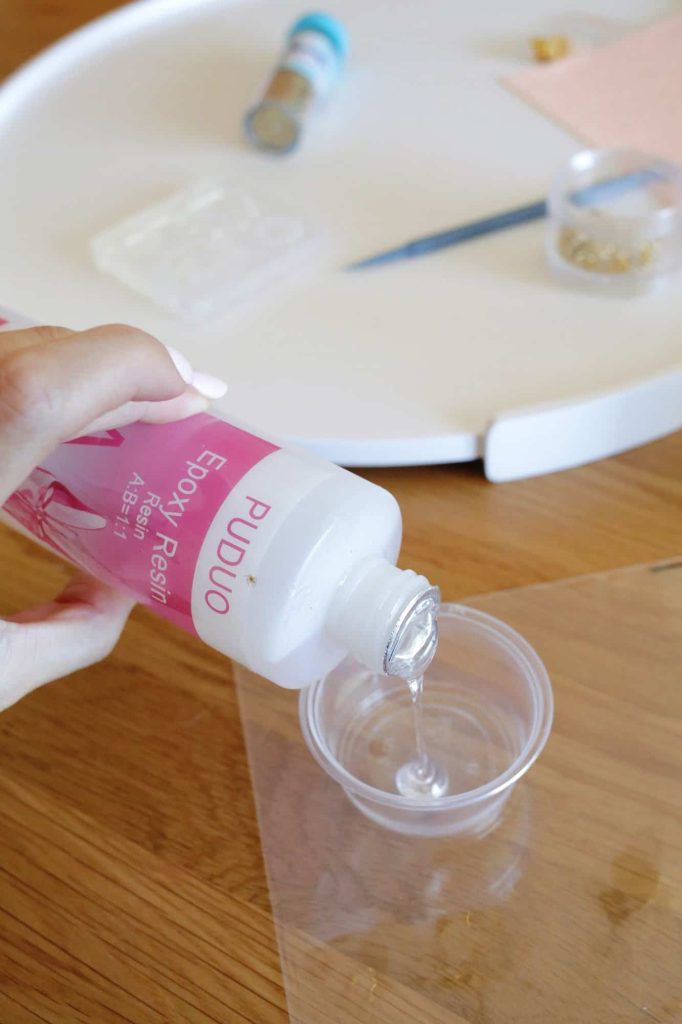
First, you’ll want to mix up a small amount of resin so you can create the yellow part of your flowers (although you can use whatever color you want for yours). Pour about 3 teaspoons of part A into your cup (just eyeball it) and then another 3 teaspoons of part B into your cup.
The kits suggest you wear gloves when pouring resin, but I’m pretty good at cleanly pouring small amounts so I didn’t.
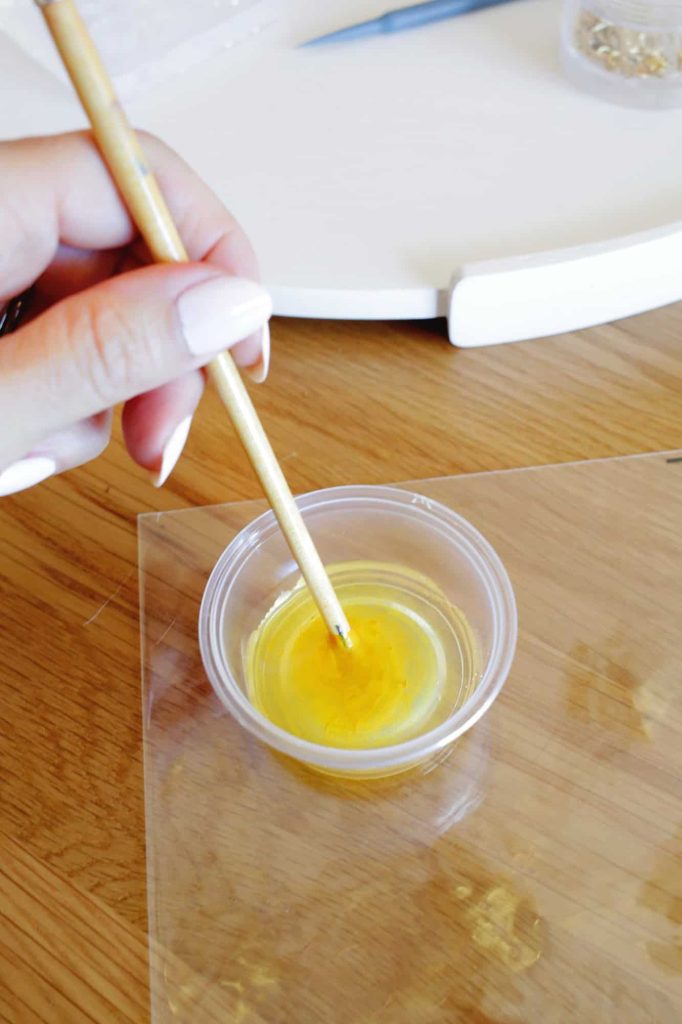
Take your acrylic paint and add in small amounts and mix together until you get a color you like.
A small flexible cup allows you to pinch the top edge of the cup to create a spout for the resin to be poured out of, but be sure to wipe the drips off the cup with a paper towel after each pour.
Or, you can use a disposable pipette, which is great for getting resin into small molds without overflowing the mold.
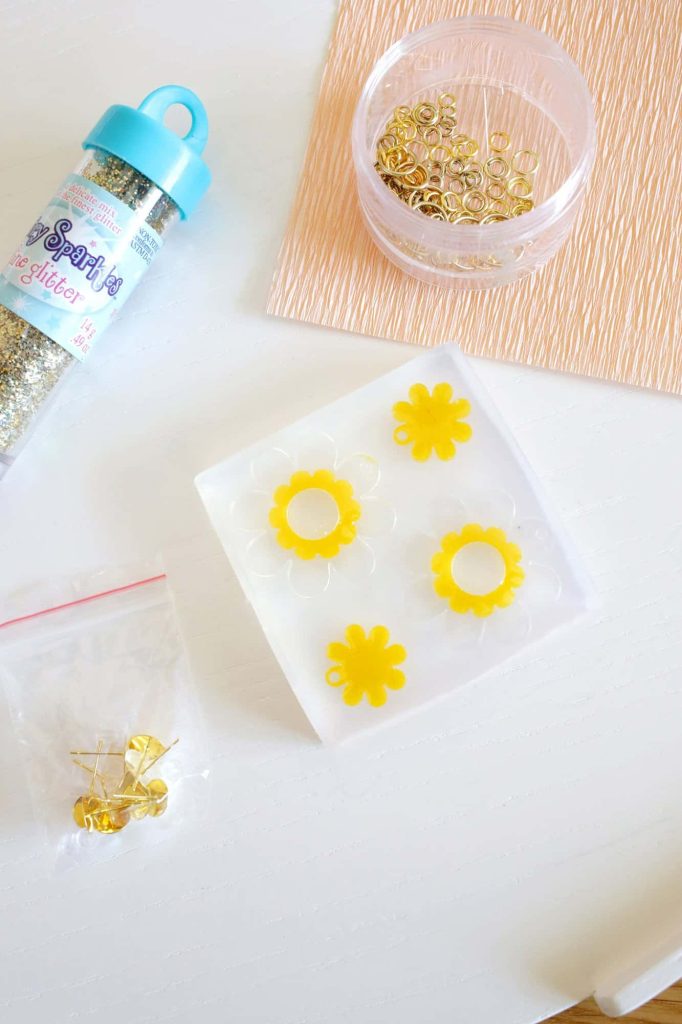
I poured the yellow resin carefully into the small flowers and then into the lowest part of the big flower and let them set overnight (or check your resin to see how long it takes to dry).
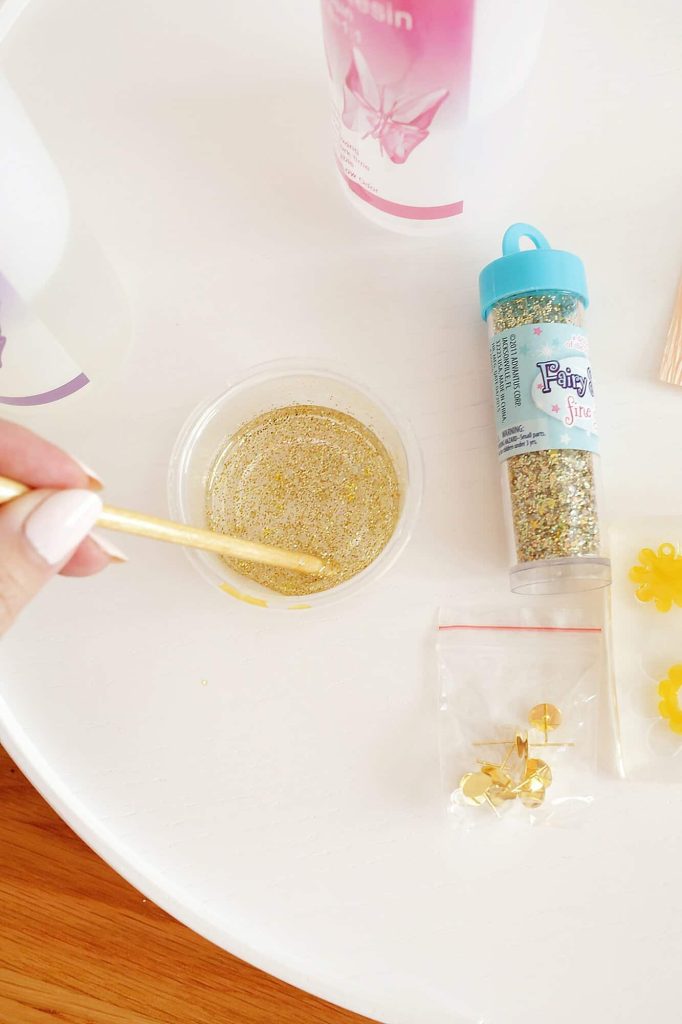
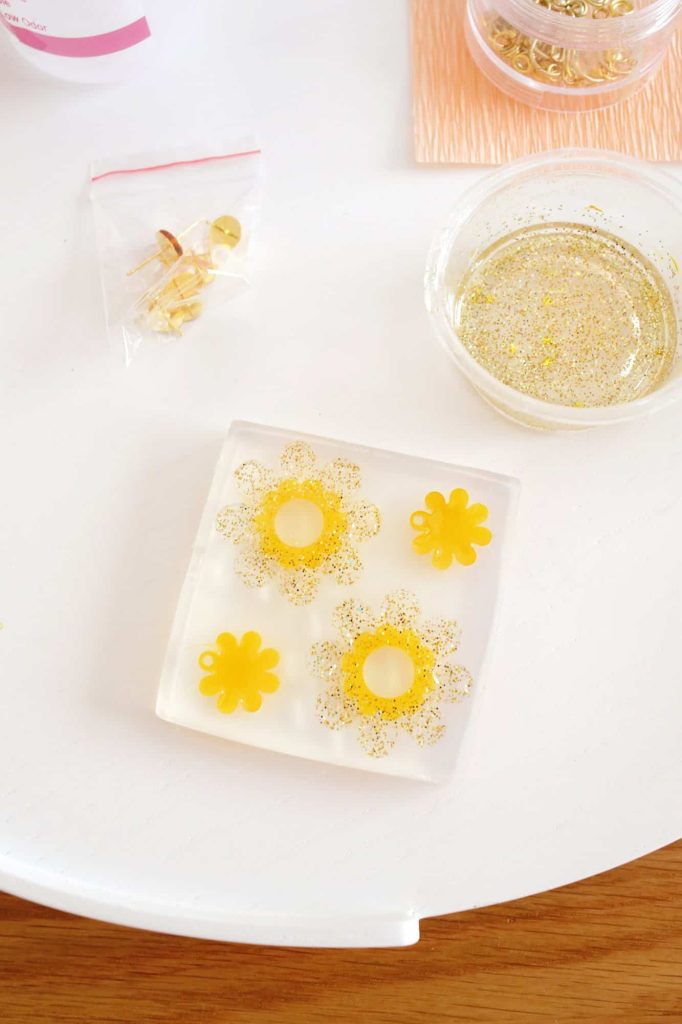
Next, I repeated the process of pouring 3 teaspoons each of part A and B into a cup and added loose glitter and mixed it all together. Less glitter will make it more clear and more will give it more of an opaque look.
Allow your mold to fully dry before popping out your pieces.
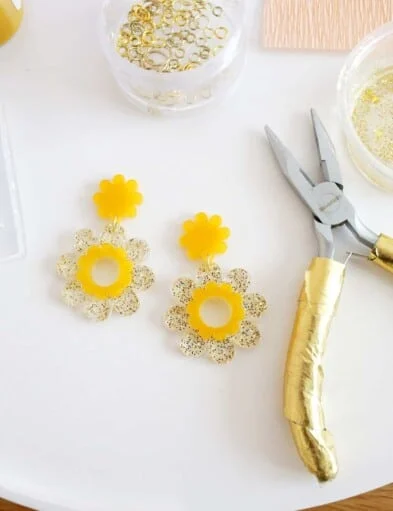
Once your pieces are dry, connect the two shapes with a jump ring using small pliers to open and close the jump ring (the mold should have tiny pillar in each shape that creates a hole so you can connect them later).
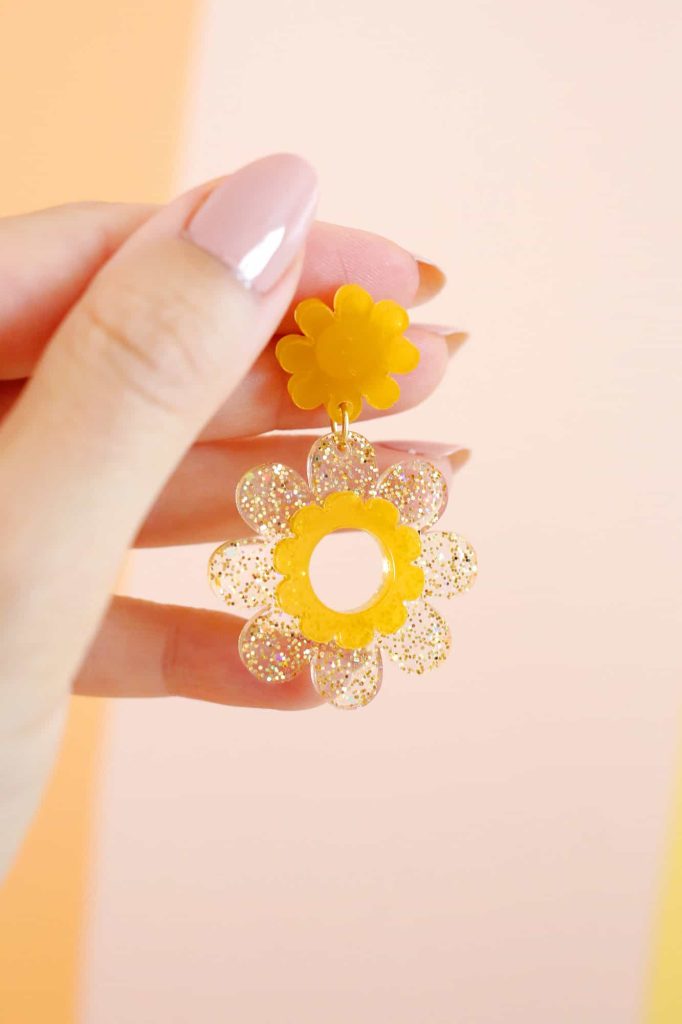
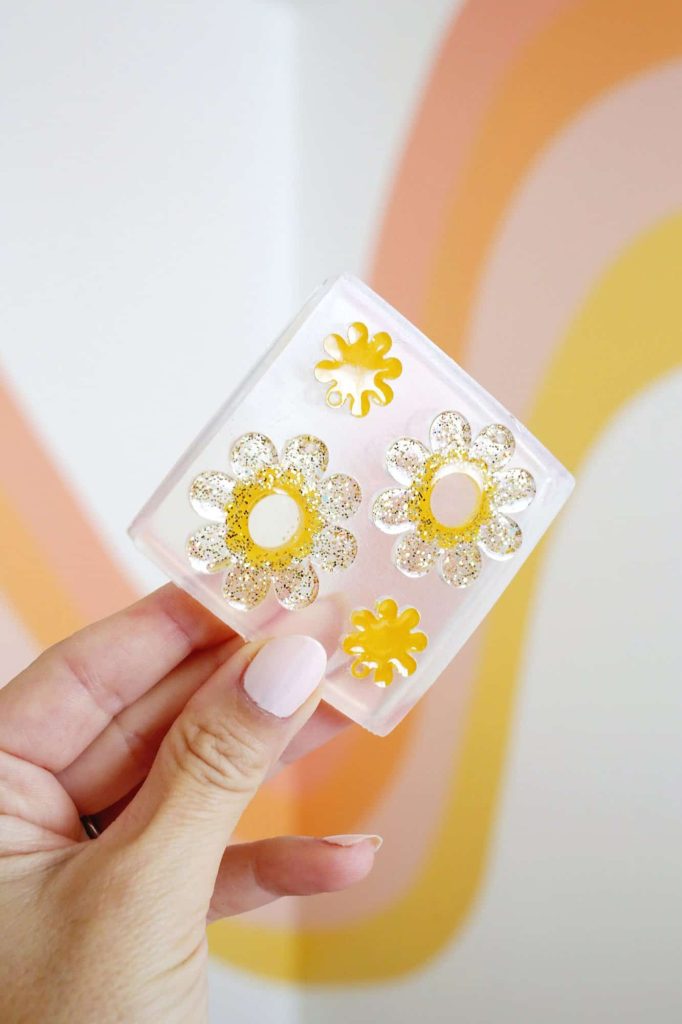
Once the pieces are connected, attach your earring stud post to the back of the small flower with some super glue and allow the glue to fully set before wearing. Once it’s dry, it’s time to display your new earrings!
Aren’t they so cute? And acrylic like this is pretty light, so they don’t feel like a heavy earring (even though they are a good size).
You can totally customize these to be whatever colors you like just by changing the paint or glitter color (and you can add glitter and paint together, too!)
Whether you are a DIY earrings fan or a daisy fan, these are sure to please and it’s super easy to make several pairs, so you can give them as gifts, too.