How To Style A Simple Dutch Braid
Growing up, we always called the Dutch braid an inside-out French braid. I didn’t know there was another name for it, so when someone asked me if I knew how to Dutch braid, my answer was a pretty quick “I don’t think so.”
Once I did a little research, I found out that they are one and the same. If you know how to French braid, this Dutch braid tutorial is easy peasy.
Basically, you are just reversing the direction of the braid. If you aren’t quite as experienced in the French braid department, that’s OK!
I’ve broken down the Dutch braid steps for you, so you’ll be braiding (like a pro) in no time.
Step 1: Divide hair at the top of your head into three sections.
Step 2: You will begin braiding, but instead of crossing your strands OVER the middle piece, you will be crossing UNDER.
Step 3-4: After you have crossed under twice, take a section of hair from the side and add into one of your strands. You will cross this section of hair UNDER the middle strand.
Step 5-6: Repeat on the next side, making sure to be consistent and continue crossing under the middle strand every time.
Step 7: Continue braiding down.
Step 8: Once you reach the nape of your neck, keep braiding until you reach the bottom.
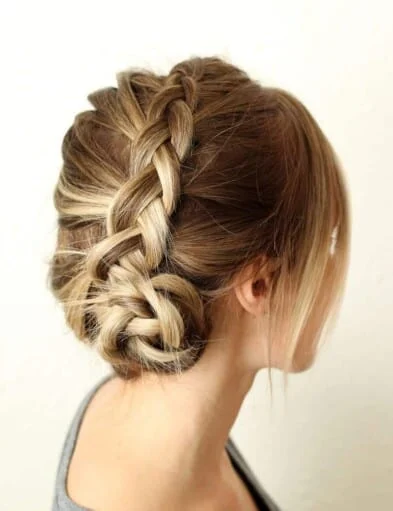
Step 9: (optional) Twist the bottom of the braid around itself into a bun and pin into place with bobby pins.
Once you master the steps, try starting on the side to create a lovely side braid. This technique can be used in a lot of different styles. Happy braiding!