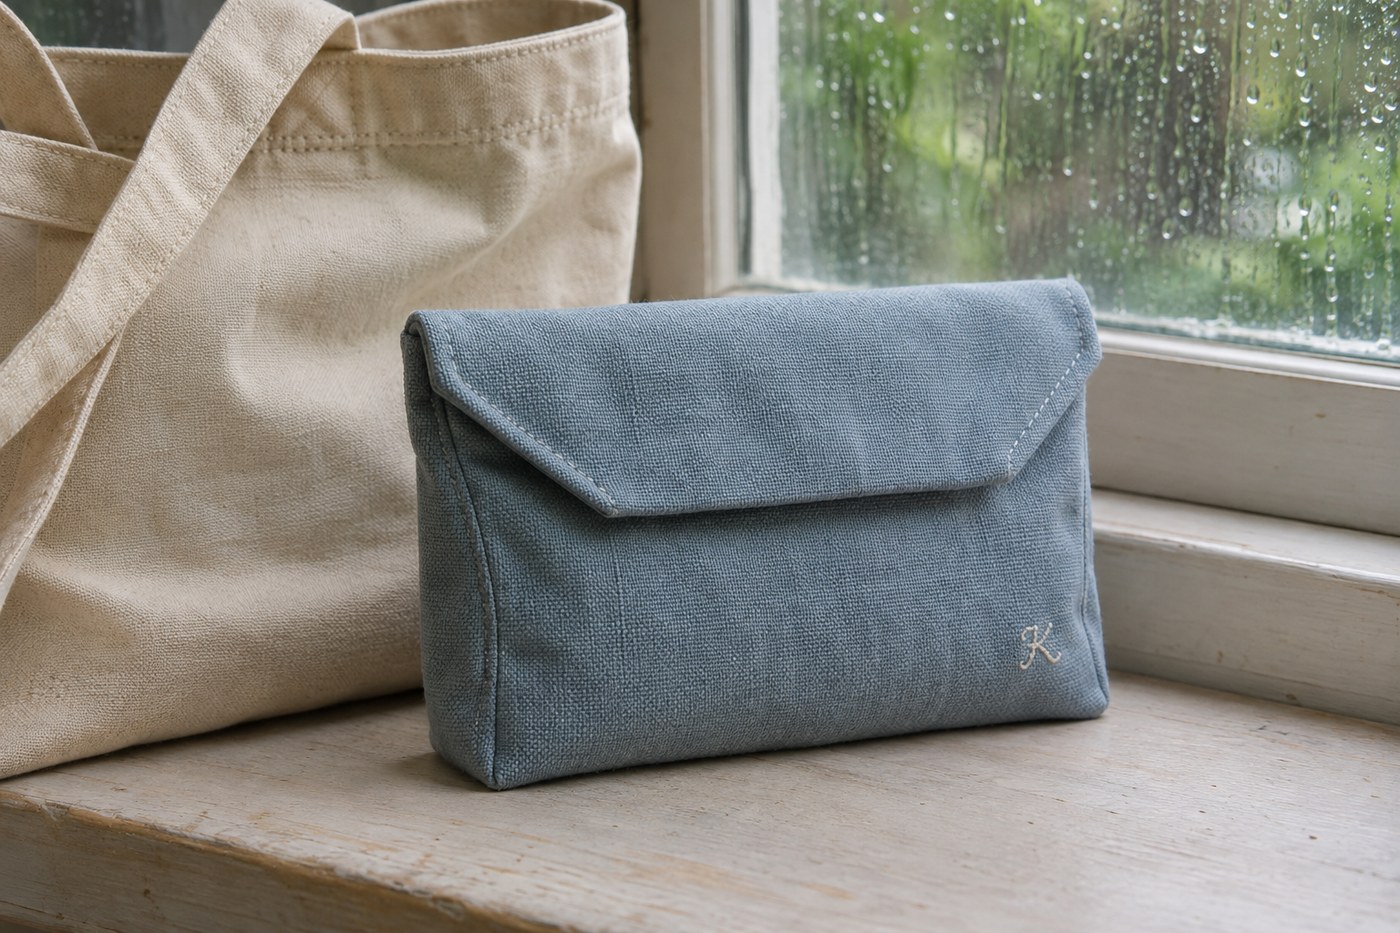
Sew a Fold-Over Cotton Pouch for a Rainy-Day Bag

Keep a charging cable or spare tissues from disappearing into a spring tote with this unlined cotton pouch. A long back flap tucks inside the front edge, so there is no zipper or button to fit. It organizes dry items; the fabric does not keep rain out.
Cut one strip
- One 16 by 37 cm rectangle of prewashed medium-weight woven cotton
- All-purpose polyester thread, sewing machine or hand needle, scissors, ruler and clips or pins
- Iron and pressing surface
On both short ends, fold 5 mm to the wrong side, press, then fold another 5 mm and press again. Stitch close to the inner folds. You now have a 35 cm strip with two finished ends.
Form the pocket and flap
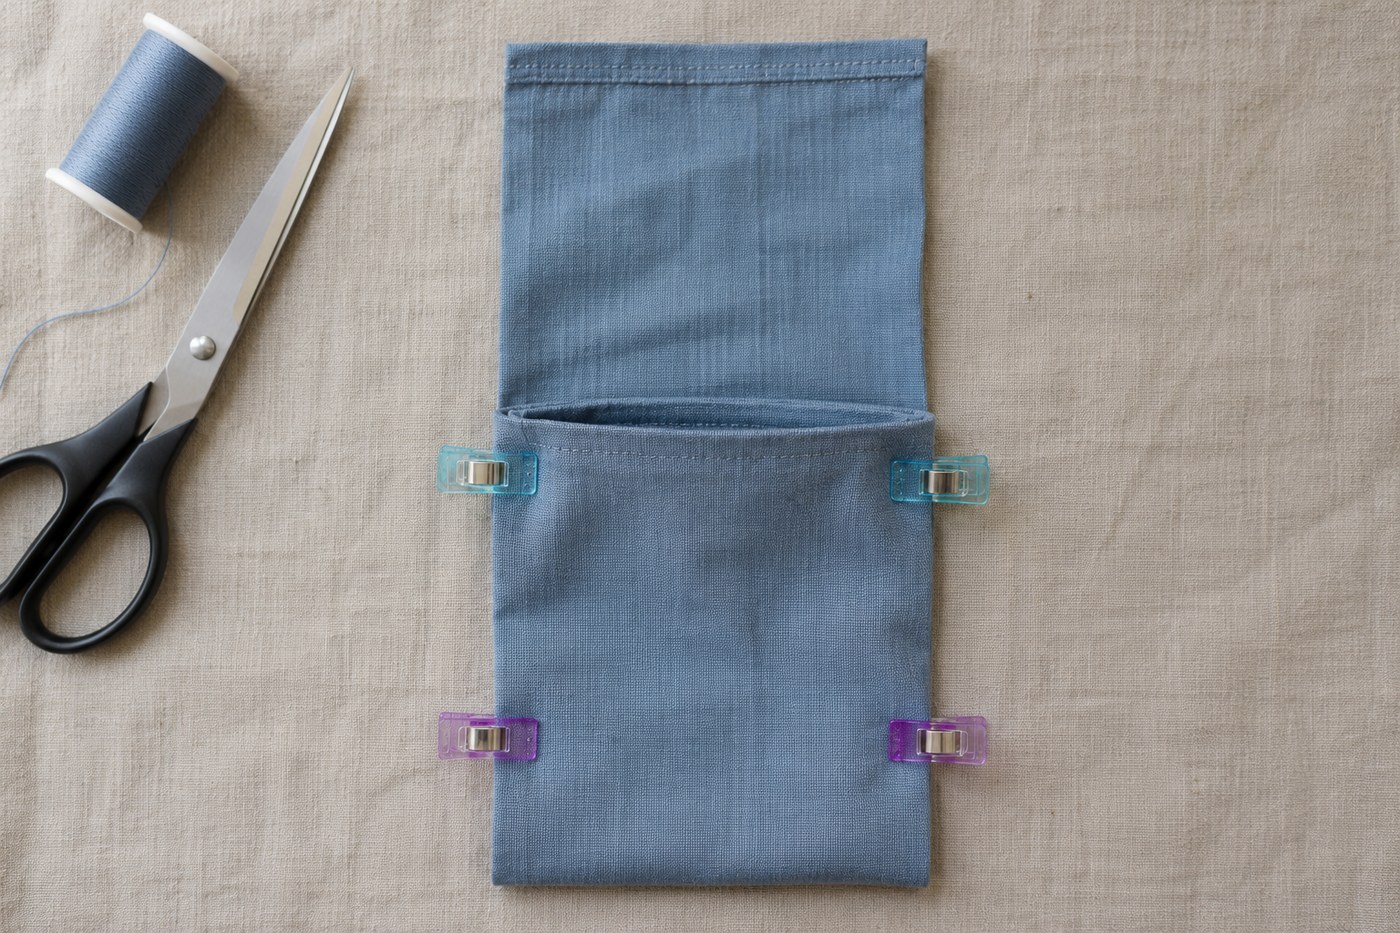
- Place the strip right side up. Fold one finished end up 14 cm and clip the long edges. The raised section is the front, the layer beneath it is the back, and the 7 cm of single fabric above the front becomes the flap.
- Sew both long edges from the folded bottom to the mouth with a 1 cm seam allowance. Backstitch at both ends; if sewing by hand, use small backstitches along the entire seam. Finish the raw seam allowances with a zigzag or hand overcast stitch.
- Turn the pocket right side out. On the flap, turn each raw side edge to the wrong side by 5 mm twice, making the second fold a few millimeters deeper toward the tip. Stitch the folds down. The pocket is about 14 cm wide, and the flap tapers slightly so it fits inside. Ease the flap into the mouth to close.
Adjust before loading
If the flap catches, taper its side folds slightly toward the tip, starting the taper above the pocket mouth. If it slips out as soon as you fill the pouch, remove some bulk: the closure needs enough room for the flap to sit inside rather than bow outward. Press the fold gently once you are happy with the fit. Shake out crumbs or lint before washing according to the fabric’s care instructions.