Thread a Halloween Bat Across a Punched Card

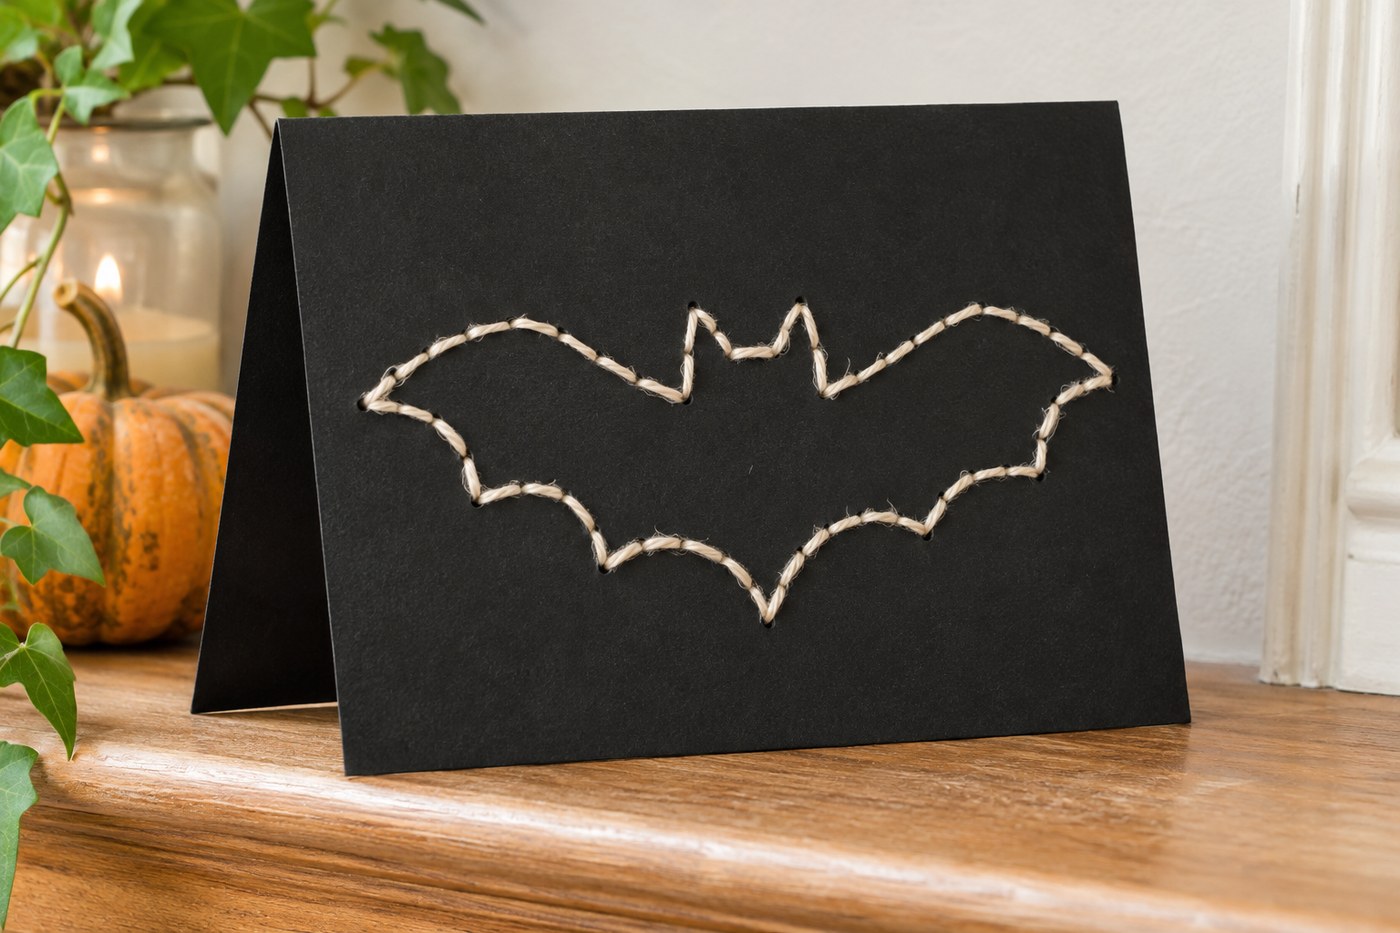
Use short stitches of pale yarn to outline a bat against black cardstock. Unlike a paper cutout, the wings have a raised edge that shows even under soft indoor light. The finished card can stand on a mantel or go inside a roomy envelope.
Draw a pattern with room for holes
Gather one 5-by-7-inch piece of black cardstock, one 10-by-7-inch piece of cardstock for the folded card, 2 yards of pale fingering-weight yarn, a blunt tapestry needle, a small single-hole craft punch with enough reach for your design or a screw punch with a protective mat, a pencil, scissors, and double-sided tape. On the black panel, sketch a centered bat about 4 inches wide and 2 inches tall: two ears, two high wing tips, and two shallow scallops below each wing.
Punch and lace the outline
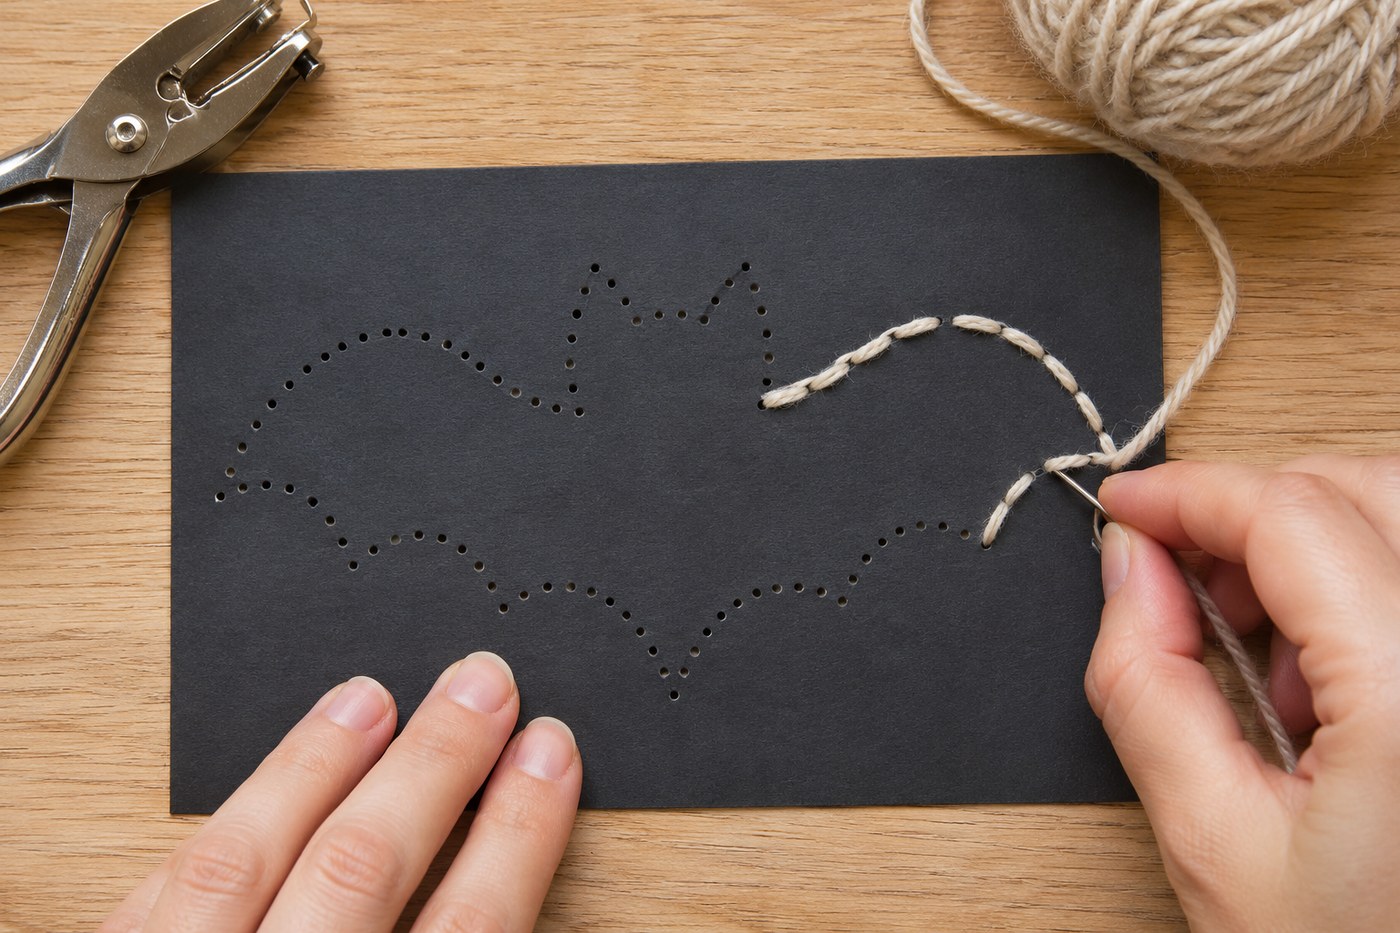
- Mark holes at the tips and valleys first, then add holes roughly a quarter inch apart along the remaining lines. Keep holes at least a quarter inch from the panel edges. Use a punch opening just wide enough for the threaded needle, about 2 mm.
- Tape a 1-inch yarn tail to the back near a wing tip. Bring the yarn up through the first hole. To make a continuous outline, go down through the next hole, come up one hole farther along, and take the needle back down through the previous hole. Repeat around the shape.
- End on the back and tape the final tail flat. Fold the larger cardstock to make a 5-by-7-inch card and attach the stitched panel to the front with tape around its edges.
Avoid tearing the wings
Pull just enough yarn through to remove slack. If a hole begins to split, tape over it from the back, then reopen the hole before continuing. If the curves read as sharp corners, add another hole on a broad curve only where it can sit clear of its neighbors. A simpler outline with fewer scallops is easier to stitch than a crowded one.