Fold a Pleated Paper Pear for an Autumn Table

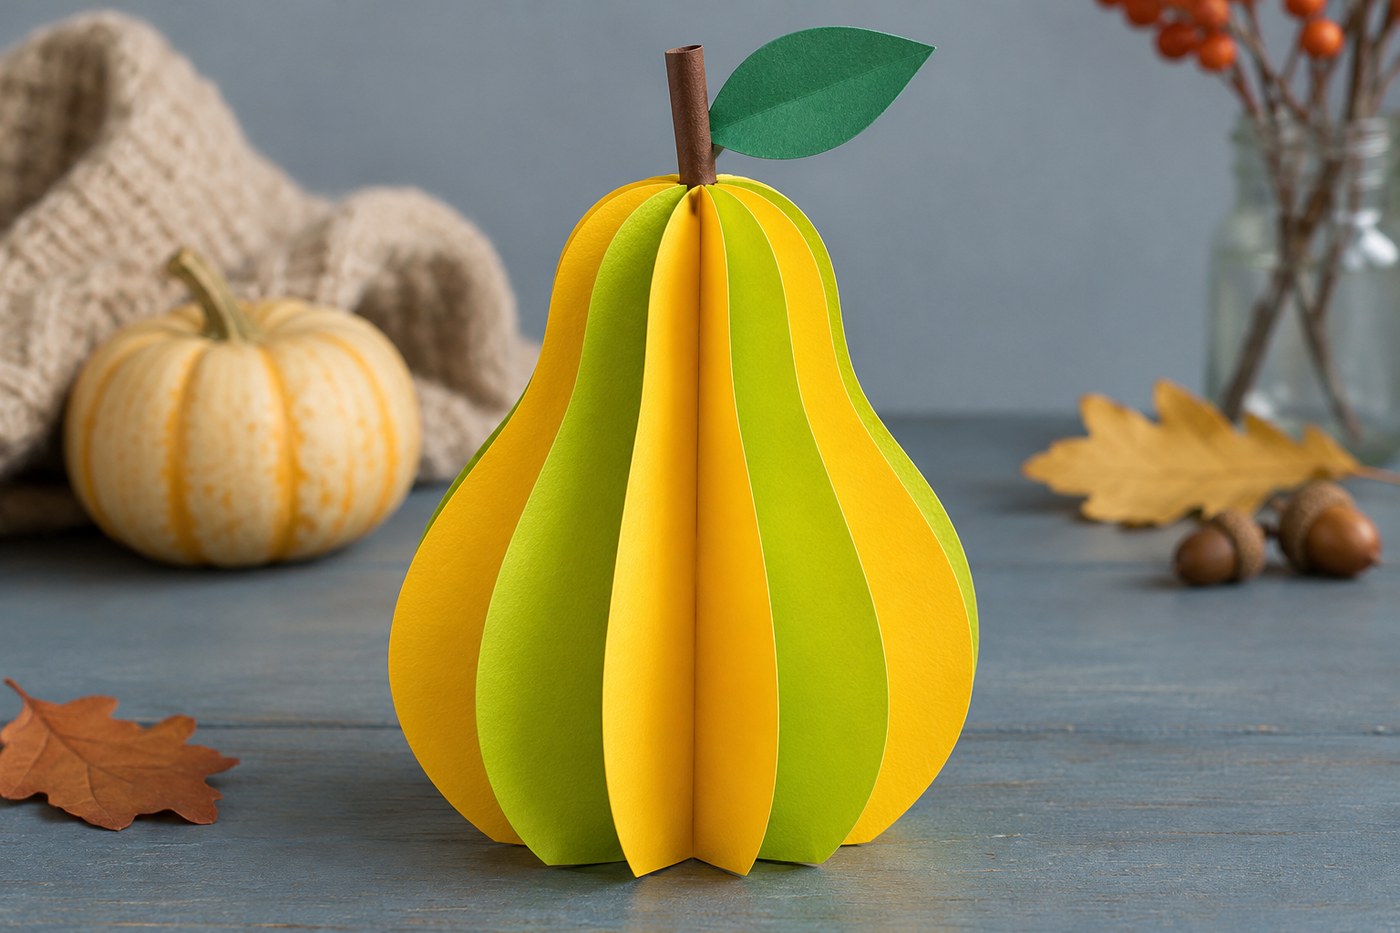
A stack of matching paper pears opens into a freestanding shape that looks different from every side. Make one as a place setting accent, or group several in a dry bowl. The only tricky part is drawing a symmetrical outline, which is easier when you cut each shape on a fold.
Paper and pattern
Set out six pieces of colored drawing paper, each 5 by 6 inches, one scrap each of brown and green paper, scissors, pencil, a ruler, and a glue stick. Fold each rectangle so it measures 2.5 by 6 inches. Use one additional scrap folded the same way as a template.
On the template, mark the top of the pear on the folded edge half an inch down. Draw the shoulder about an inch out from the crease, then curve to a wide base about 2 inches out from the crease. End with a short, straight bottom line perpendicular to the fold, about half an inch above the lower edge. Cut the outline and trace it on the six folded rectangles with folds aligned.
Open the fruit
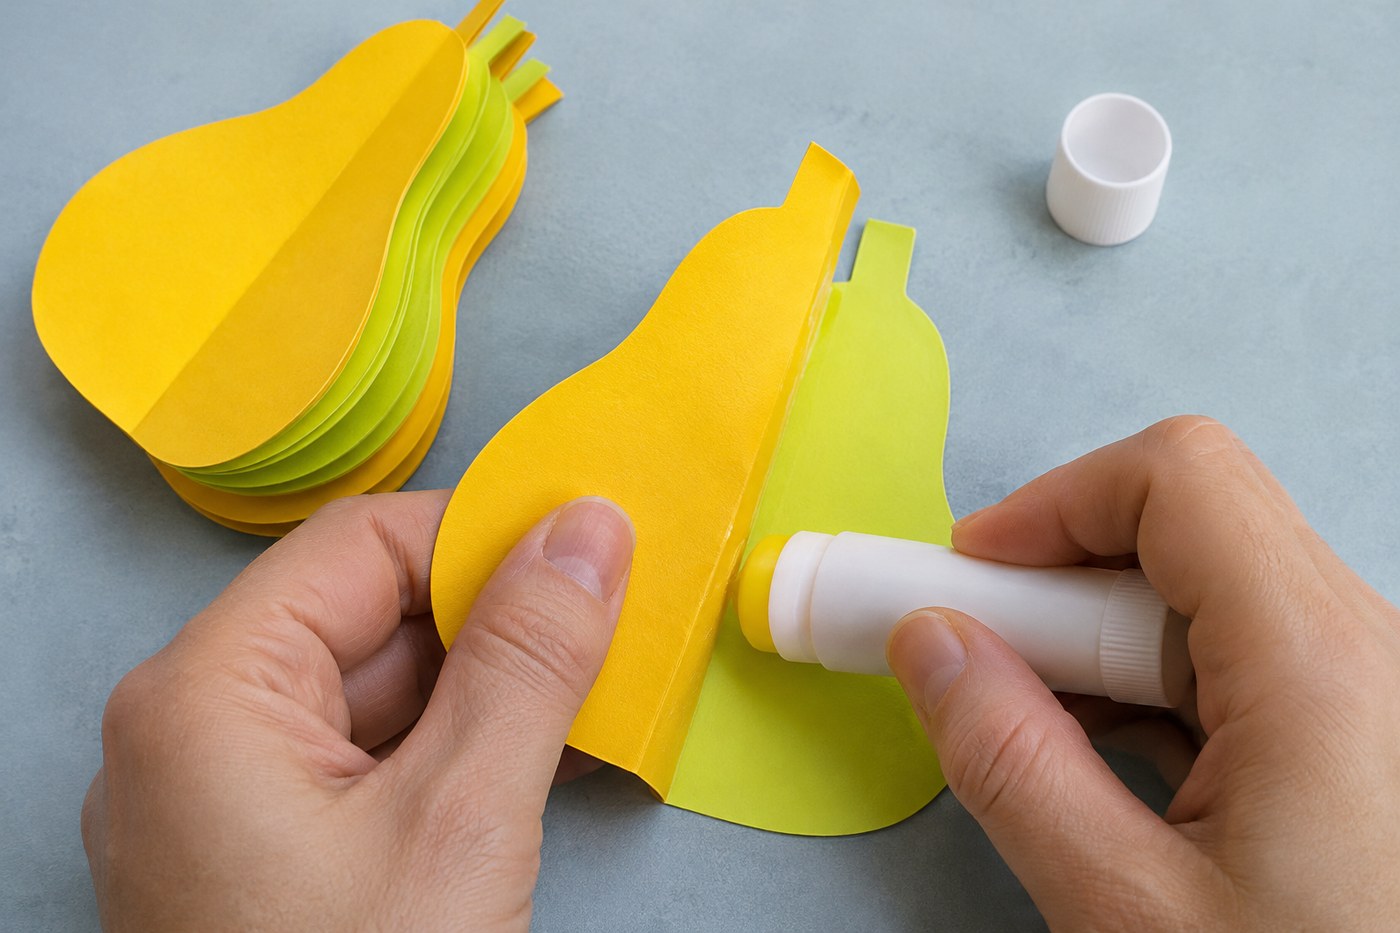
- Cut the six folded shapes. Keep them folded and glue one outside half of the first to one outside half of the second. Align the folds and flat bases before pressing. Continue stacking until all six are joined.
- Cut a narrow brown stem about an inch long. Glue its lower third near the top crease on one of the exposed halves. Cut a small green leaf and glue its base to the projecting stem.
- Glue the first and last exposed halves together to close the shape. Fan the folds around the center and set the pear on its flat base.
Balance the shape
If the pear rocks, check for a low protruding paper edge and trim just that spot. If the layers curl, the paper may be too thin or the glue too wet; use heavier drawing paper and apply a thin, even coat. For a striped pear, alternate two shades when stacking the folded pieces.