Stamp Seed Packet Labels with a Craft-Foam Stamp

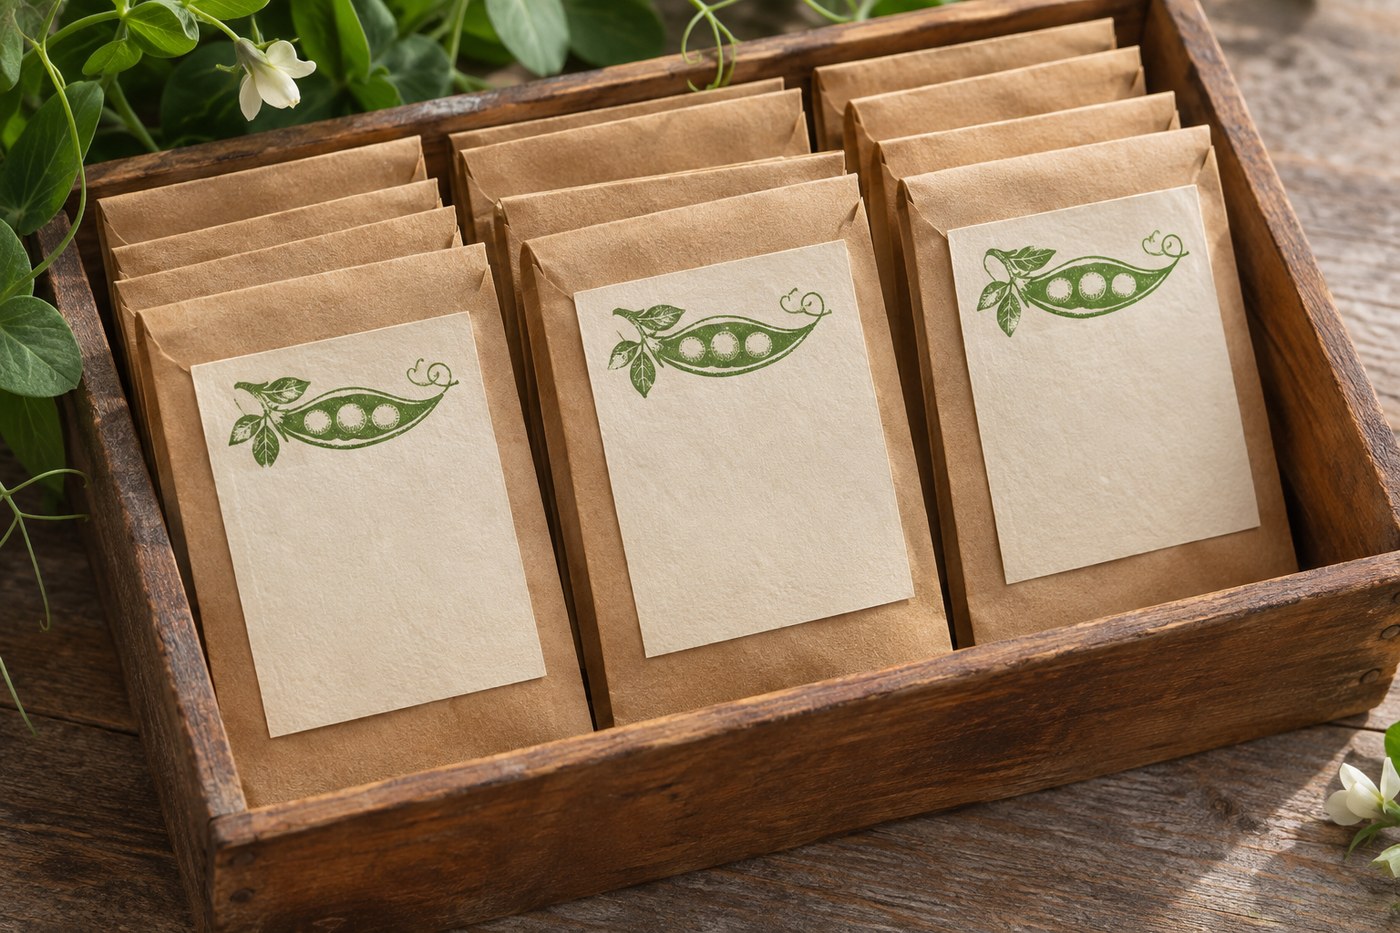
When several varieties are waiting to be sown, a bold picture on each paper packet makes sorting quicker. Make one small stamp from peel-and-stick craft foam, then print a row of matching labels for your seed box. The printed shape is a visual cue; leave room for the variety name and sowing notes.
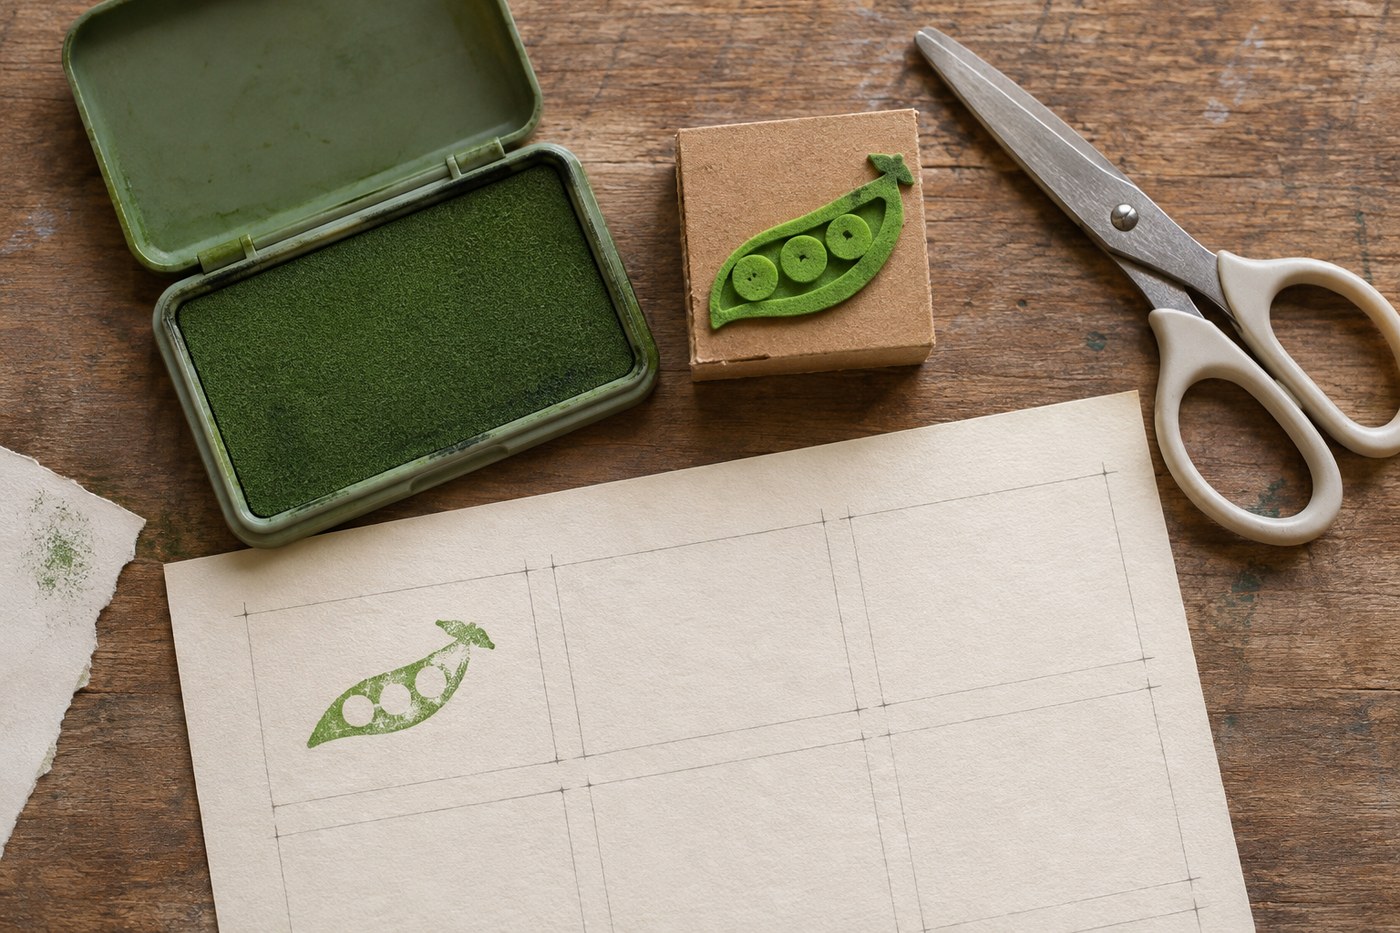
Gather supplies for twelve labels
- One 5 cm square of self-adhesive craft foam, about 2 mm thick
- One flat 5 cm square of sturdy cardboard for the stamp block
- One sheet of plain cardstock, at least 20 by 21 cm
- Washable craft ink pad, pencil, pen, ruler, scissors and glue stick
Design a shape that prints cleanly
Draw a simple image no more than 3 cm wide on the foam backing. Try a pea pod with three separate circles, or a carrot with one broad leaf cluster. Cut the pieces out with scissors, peel the backing and press them onto the block. Leave at least 2 mm between separate shapes so the gaps show clearly. Mark the top edge of the block with a pencil arrow; it will keep the prints upright when you cannot see the foam.
Print, label and cut
- Rule a light grid of twelve 5 by 7 cm rectangles on the cardstock. Leave the lower half of each rectangle blank for writing.
- Tap the foam against the ink pad and make a sample print on a scrap. Press straight down, hold briefly and lift without rocking. When the sample looks crisp, print once near the top of each rectangle, reinking between prints.
- Let the ink dry completely, then cut on the grid lines. Add variety and date details with a pen. Glue labels to clean, dry packets without covering instructions or batch information you still need.
If part of the image never transfers, put a single sheet of scrap paper beneath the cardstock to cushion the press slightly and check that the block is flat. If the print has a halo, use less pressure and check that ink has not transferred onto the cardboard around the foam.