Print Leaf Silhouettes on Paper with a Sponge

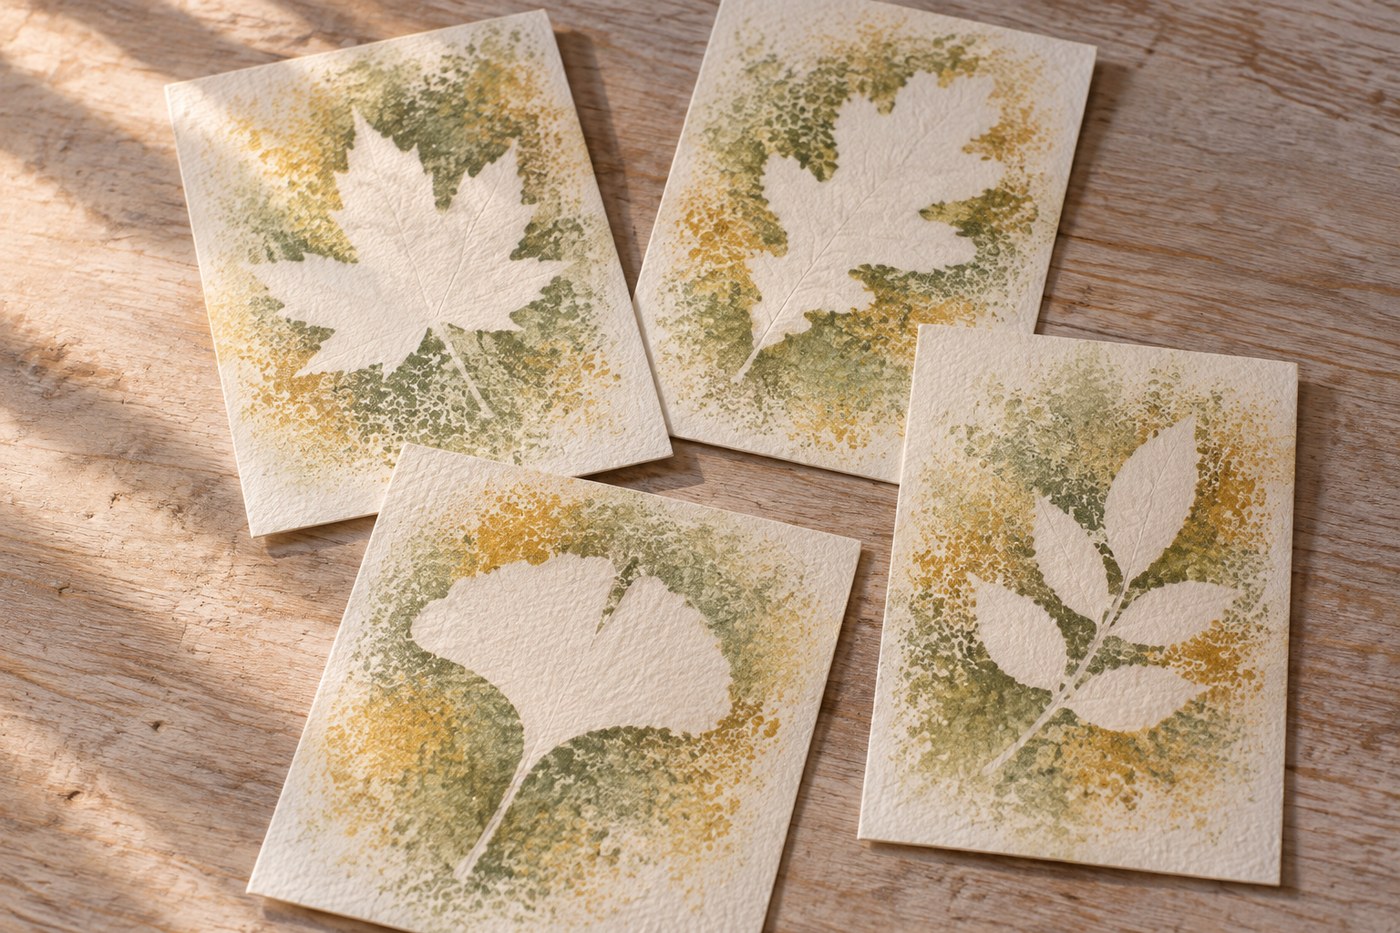
A sponge and a few fallen leaves can make botanical silhouettes without a press. The leaf acts as a mask: paint goes around it, leaving a clean paper shape when you lift it away. Use the finished prints as spring note cards or frame them in a small group.
Set up a dry work surface
- Four 10 by 15 cm pieces of heavyweight mixed-media paper
- Four clean, flat leaves, roughly 4 to 8 cm long
- One clean kitchen sponge cut into small pads with scissors, a plate and about 1 teaspoon each of two colors of water-based craft paint
- Scrap paper to protect the table and a paper towel for blotting
Choose fallen leaves you can identify and handle safely. Pick shapes with distinct edges rather than deeply curled leaves. Blot away surface moisture and flatten a leaf briefly beneath a book between sheets of scrap paper if it will not lie down.
Dab the color in layers
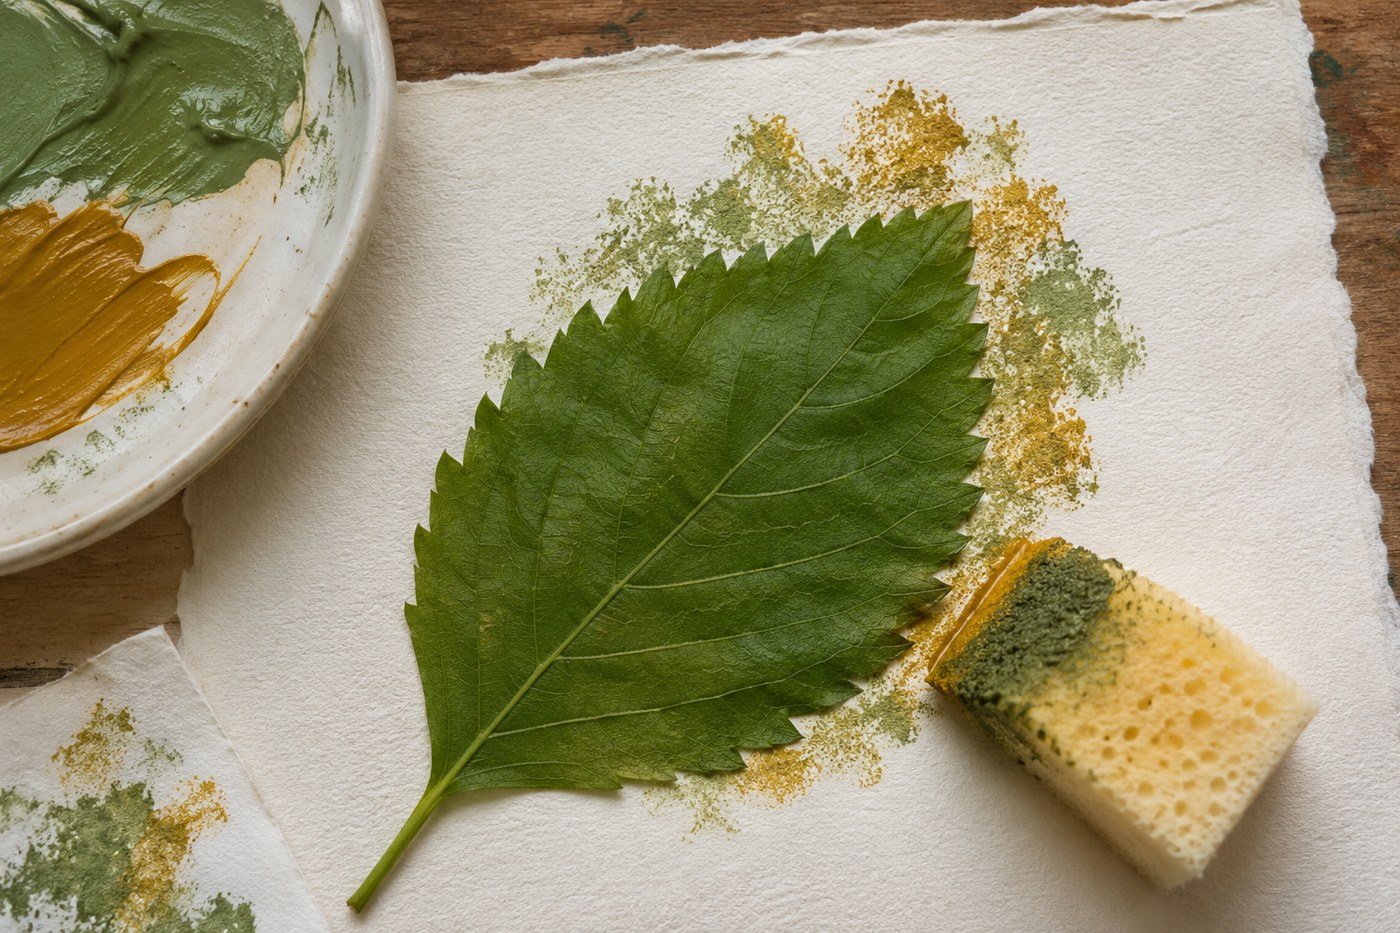
Position a leaf on the paper with room around the tip and stem. Hold it near the middle with a clean finger. Dip the sponge lightly into one color, then tap it several times on scrap paper. Dab straight down along the leaf edge, working in small sections and holding the leaf close to where you are dabbing. Do not scrub sideways, which pushes paint beneath the mask.
Continue outward with lighter dabs until the color fades into the blank paper. Use a fresh sponge pad for the second color and add it beyond part of the first color, letting the two overlap slightly. Lift the leaf by the stem before the paint dries, drawing it straight up rather than dragging it across the print.
Read the edges before making the next print
Blurry edges usually mean too much paint or a curled leaf. Blot the sponge more thoroughly and start with a flatter leaf next time. If the silhouette has gaps along the edge, bring the first color closer to the leaf before lifting it. Let the prints dry flat before stacking them, then trim any marked margins with scissors.